Notifications
The notification feature allows users to receive and view important notifications and updates relevant to them. These include things like Unit start date reminders, status updates, visitation requests, and much more.
Region Administrators may create notifications on the notifications page which can be opened from the bell icon in the header. Notifications can be viewed, marked as read, or cleared from the bell icon and also from the notification page.
How to View your Notifications
Notification bell icon and notification count can be seen on the header. Clicking on the bell icon will show all Region notifications in an easy to read list. In a list, a maximum of five notifications can be seen. Click on the Show more link to view more notifications. The 'Show more' will open the Notifications page.
How to View Chats
To view your chats, click on the Drawer (3 lines) icon to expand the sidebar from the home page. Once open, the sidebar will display Upcoming Events (coach visitations/LVAs), and Chat messages.
Click on You have x new messages below Chat. This will open the My Chat page, where you can view all of your chat conversations at once.
How to Manage your Notifications
You may receive a large amount of notifications and wish to manage them so you only receive the notifications most important to your school or region. To do so, click on your name in the right corner of the top menu bar and select Edit Profile from the drop down menu. This will open your Profile page.
From your Profile page, click on Email Notifications Setting. This the 'Email Notifications Settings' menu on the right side of the page. From here you will see a list of all the notifications you may receive.
These notifications include:
- Unit Start Date Reminder
- Status Updates
- Surveys
- Visitations
- Add/Remove Teacher
To receive all notifications, place a check mark next to Select All. To disable a notification type, uncheck the check mark next to it. To finalize your notification settings, click on Save. To remove your changes, click on Cancel.
When a new teacher is added or removed from your region for the fist time you will receive Add/Remove teacher notifications. You will not receive these notifications if the removed teacher is assigned a new class. Certain messages and important system notifications cannot be disabled.
How to Add A Notification
To add a notification, open the Notifications page. Click on Add Notification on the right side of the screen. This will open the 'New Notification' form, which includes a rich text box where you may enter the following information:
- Title
- Description
- Start Date
- End Date
- Scope (By Role or By User)
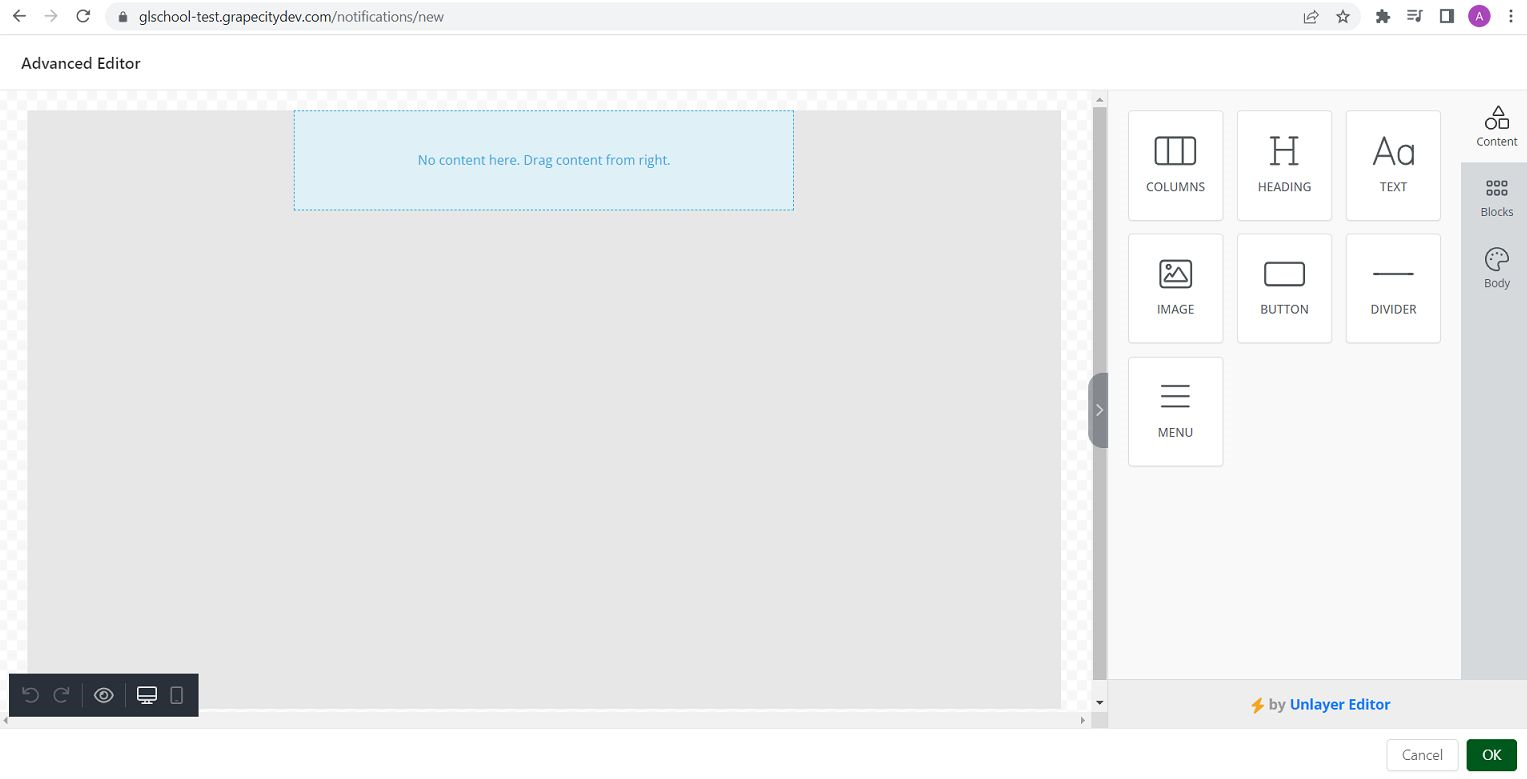
You can create customized notifications where you can add images and different elements (HTML features) to the notification. Click on the Advanced Editor link at the top of the Description text area to open the HTML editors.

On closing the editor, the notification created in the advanced editor will be shown in the description area with a Remove button and the previous description text area will hide. Click on the Remove button to go back to the original rich text editor from the existing HTML notification after the confirmation.
How to Add Users or Roles
When you add a new notification, you must select your notification's scope. The scope determines who may see the notification, and you can select either roles or users to determine scope.
If you select roles, only users with the role you specify may see the notification. If you select user, than only user's you specifically list may see the notification.
To pick a scope, click on either Roles or Users below 'Scope' and then specify the role type or users you would like to notify by clicking on Add Role or Add User to the right of 'Notify' at the bottom of the form.
Once you're finished, click on Submit to submit your notification. If you would like to discard your notification, click on cancel.
