GrapeSEED Connect Class Setup
- How to Gain Access to GrapeSEED Connect
- How to setup a GrapeSEED Connect Class
- How to Add Connect Class Times to Your Class
- How to Manage Groups
- How to Create a Group
- How to Assign students to Groups
How to Gain Access to GrapeSEED Connect
To gain access to GrapeSEED Connect, you will need to contact your local GrapeSEED representative and request access.
For the best experience with GrapeSEED Connect, we recommend using devices with larger screens, such as laptops, desktops, or tablets, rather than mobile phones.
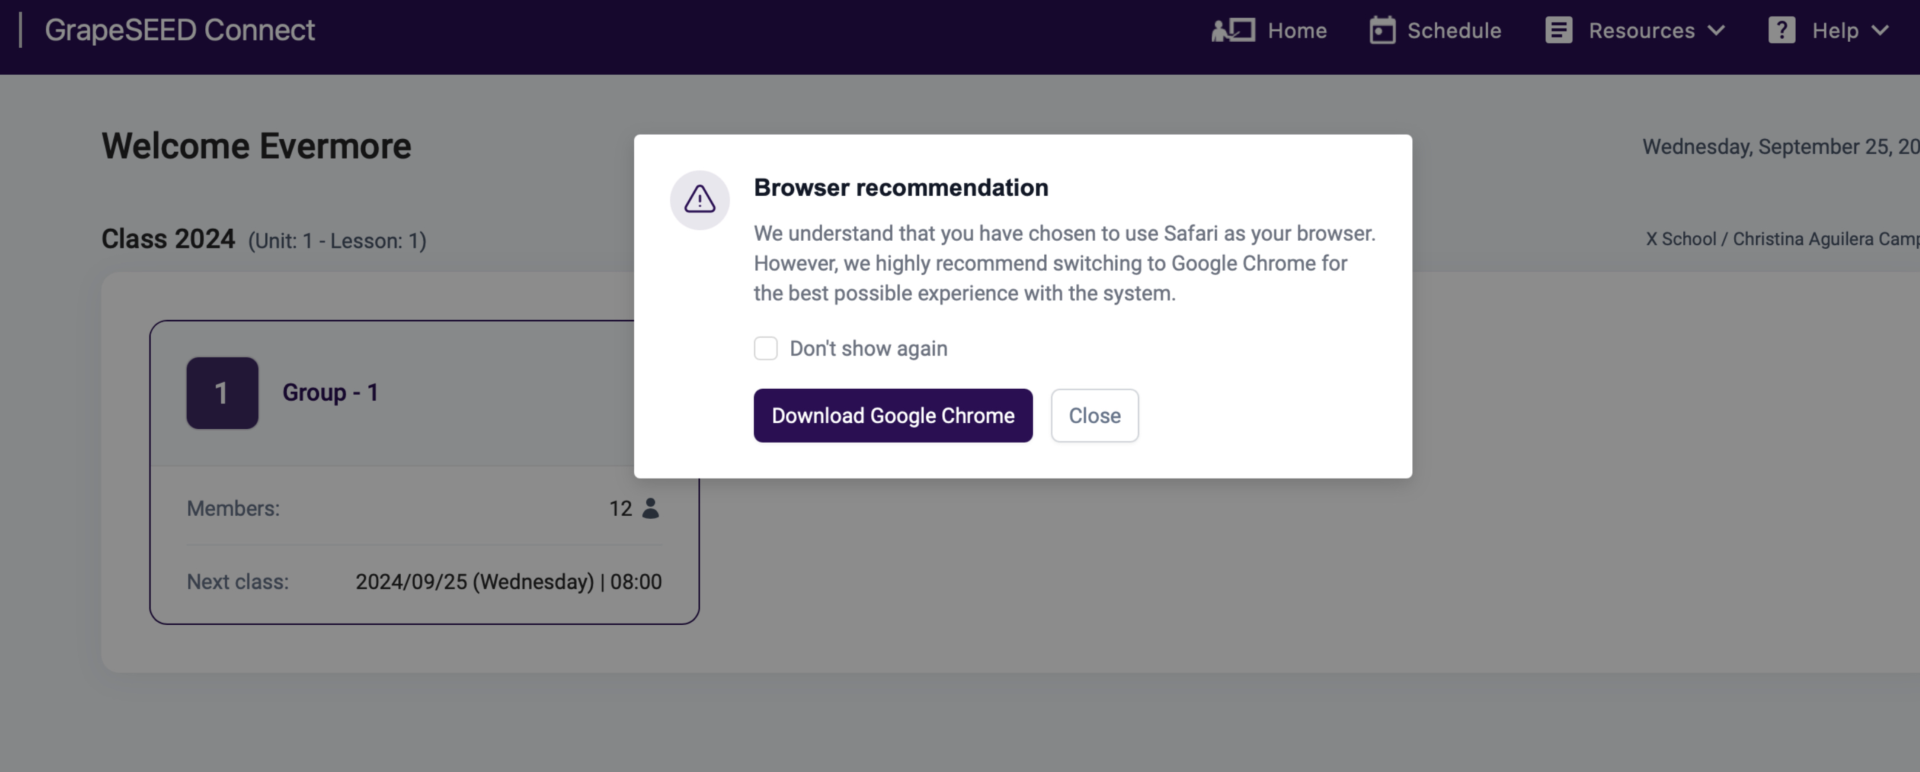
To access the online edition of GrapeSEED Connect, visit the https://remote.grapeseed.com/ in your web browser. We officially support four browsers: Chrome (recommended), Edge, Opera, and Yandex.
While any browser may be used, we strongly recommend Google Chrome for the best experience with our system. A warning message will appear if you use other browsers such as Safari, Firefox, etc.
How to setup a GrapeSEED Connect Class
Setting up GrapeSEED Connect classes involves creating student groups within the class, assigning those groups to specific GrapeSEED Connect class times, and assigning students to the groups. If any of those steps are skipped or missing, you will not be able to successfully start a Connect session.
How to Add Connect Class Times to Your Class
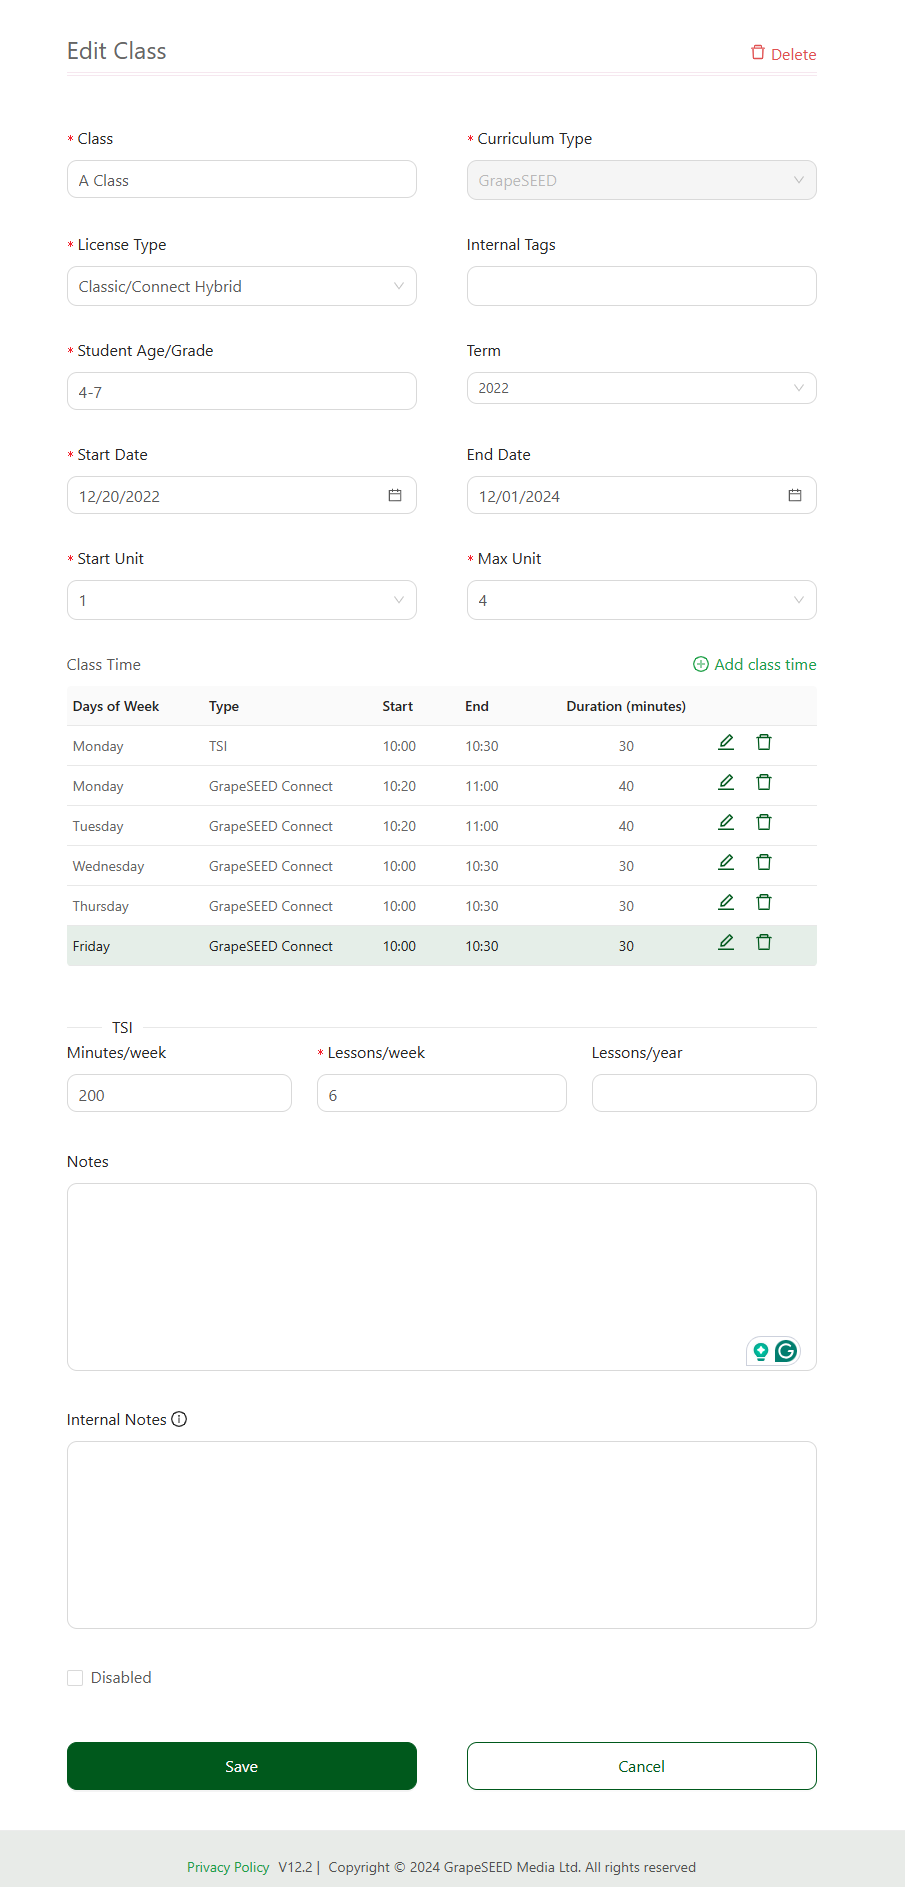
First, Navigate to the class page. Add GrapeSEED Connect class times on the settings page for the class. This process is the same as adding class times in general, instructions for which can be found here: read more
If your class has more than 12 students, you will need multiple class times to assign to each group of students you create
Once you have GrapeSEED Connect class times set up, you will be able to assign these class times to class groups. To do so you will need to create student groups on the Manage Groups page for that class.
How to Manage Groups
In order to start a GrapeSEED Connect class session, the class must have groups to assign to specific class times. In addition, GrapeSEED Connect only allows a maximum of 12 students in a session, so if your class is larger than 12 students, you need a way to split them up between different sessions.
To accomplish this, the Manage Groups feature has been created, allowing you to create groups, assign class times to groups, and place students in these groups. If groups have already been assigned, you will be able to see the “Group” column which tells you which group each student is in.
How to Create a Group
To create groups, start on the class page. From the Manage Class dropdown, select "Manage Groups".
On the Manage Groups page, click Add Group. Then, in the class groups grid on that screen, select a class time for that group by clicking on the Time Slot dropdown for the group you created. Finally, in the student list below the class groups grid, click on a group number for each student in the list to assign them to that group. When everything is set up as you need, click Save
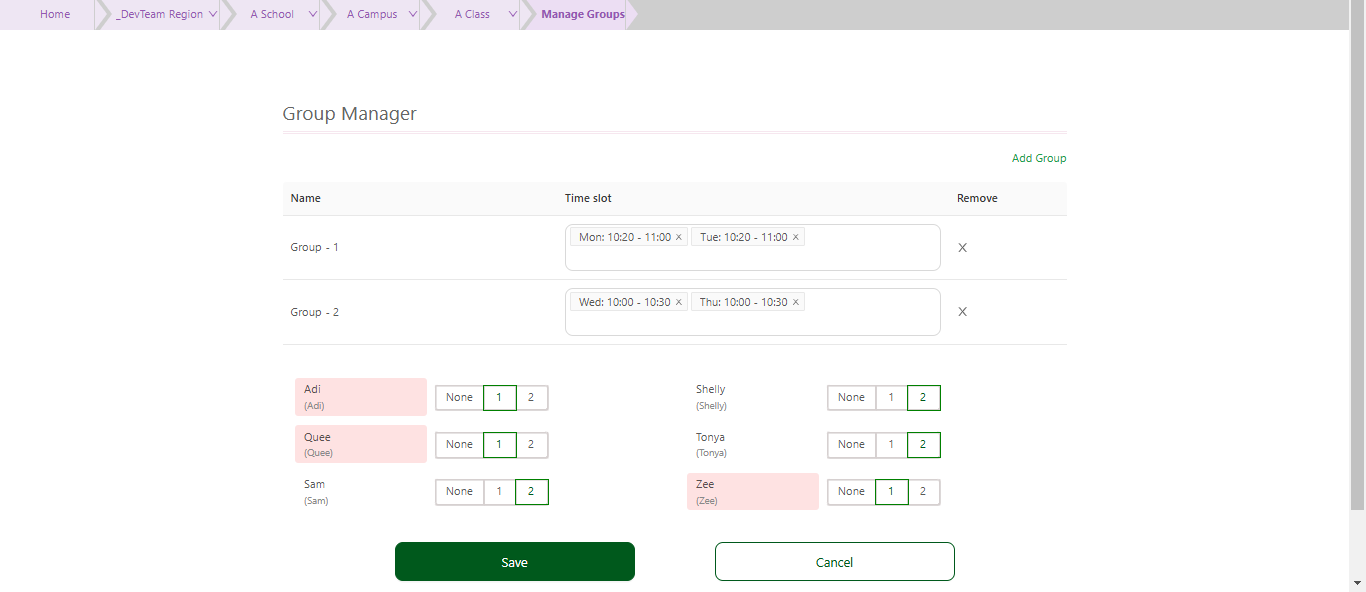
While class groups can be created without a class time, you will not be able to start a GS Connect session. It is best practice to ensure that at least one class time is assigned to every group.
Inactivated students on the Manage Group Screen is highlighted in a transparent red, with a “Inactivated Student” tooltip message.
Repeat this process for each group you need to create.
How to Assign students to Groups
Once you have created all the necessary groups for your class, you can assign students to them.
To assign students to groups, click on the number of the group to the right of each student’s name.
When you are done, make sure you click the Save button at the bottom of the page.