-
 jp
en
jp
en
In this article
How to Log into the GrapeSEED Connect Platform
- To navigate to GrapeSEED Connect, you can either go to the URL directly (remote.grapeseed.com) or you can navigate from the school site by clicking on the Resources drop down in the header and then clicking on GrapeSEED Connect
- The first time you navigate to GrapeSEED Connect, you will need to accept the privacy policy in order access GrapeSEED connect.
- In addition, if you will need to “Allow” the microphone permissions and webcam permissions for the browser. This will happen the first time you log in as well as any time you log in with a cleared browser history/cache.
- Simply click Allow in the browser popup asking for permission
- You may need to select whether you are logging in as a teacher or a student (if you are both a teacher and have a student connected to your account. If this is the case, simply click the big Teacher button to start a class as a teacher or select the big “Student” button to join a class as a student.
- If logging in as a teacher, you will see all available groups in your class, you will also have a drop down to select a different class that you teach.
How to View the Calendar
To view all GrapeSEED Connect sessions you have scheduled (according to the class times) click on Schedule On this screen you will be able to see all scheduled sessions. In addition to viewing your session schedule, you can also choose to Skip individual sessions. This updates the schedule for all your students and parents as well, so that they know when the next session will occur.
To Skip a session, click on the session in the calendar and click on the Skip button in the popup window that appears.
How to Start a GrapeSEED Connect Class Session
- Select the group session you want to start
- Ensure settings on the device setup screen are correct:
- Microphone is selected and working
- Video is selected and working
- Select the correct unit and lesson number from the drop-down menus at the bottom of the popup
- Click Join Session to open a GrapeSEED Connect session for the selected group. This will start your session in the same tab.
If your microphone or video do not appear in the dropdown, please ensure these devices are connected and working properly on your device. If your microphone or video device appears in the dropdown, but isn’t working, you may need to clear your browser history/cache for the GrapeSEED Connect site and make sure you click Allow on the browser pop up asking for microphone and webcam permission. You can easily do this by clicking Ctrl+F5 (Windows) or Command+R (Mac)
How to Start a GrapeSEED Connect Class Session as Helper
A helper is a user who has a role similar to a teacher. In order for a user to be able to join a Connect session as a Helper, they need to be a teacher in the same school or a teacher in the same class as the session they are trying to join. They can choose to join an ongoing session from the list of classes on the Connect site and if the teacher accepts their attempt to join, they will join the session.
The helper could be an observer, an IT support person, a native support person, or a coach. However, if a teacher gets disconnected, the helper can take over the session.
Just like the teacher, the helper can also get into 1-1 Mode with the student but not simultaneously. To start 1-1 mode, click on the student's name and the same interface as that of a teacher will be visible to the helper.
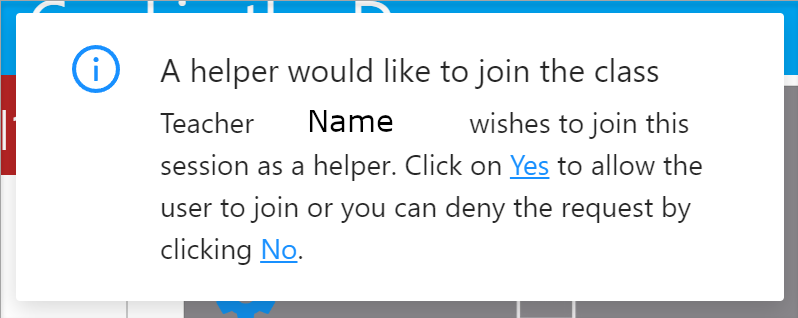
- Click Join as Helper to start a session. Meanwhile, on the teacher’s screen, a toast message will be shown. Clicking on ‘Yes’ will allow the helper to enter the class, and ‘No’ will deny.
The helper cannot join the session before it gets started. If a helper tries to do so, clicking on the 'Join as Helper' button will show a message "No session is in progress".
After joining a session, a Helper can
- Listen and see the Teacher and students.
- Give stickers to the child.
- Access individual and class control icons.
- Use class control Jonny Bear icons.
- Get into 1-1 mode with students.
- Hide/unhide the video and mute/unmute his audio.
- Exit the class.
But a Helper can not
- Access annotations
- Zoom-in/zoom-out Lesson plan slides.
- Change Unit and Lesson between the session.
- Mark Unit/Lesson as complete.
- End the session/class.
Also, the teacher can remove the helper at any point between a session.
How to Organize Students into Separate Teams
The Teams configuration settings can be set before or during a session and will be saved for future sessions. The Teams feature provides a lot of visual effects while the teacher is conducting a session. The teacher can view the names of the students and their avatars at any moment and reorganize them in different ways through easy drag-and-drop functions. Teachers can create a maximum of six (6) teams per session.
The helper can also configure Teams settings to assist a teacher during a session.
The Teams Setup button on the teacher screen enables teachers to create teams in advance. However, it is not mandatory to create teams before starting a session. Teacher can start the session and later configure the Teams based on the students.
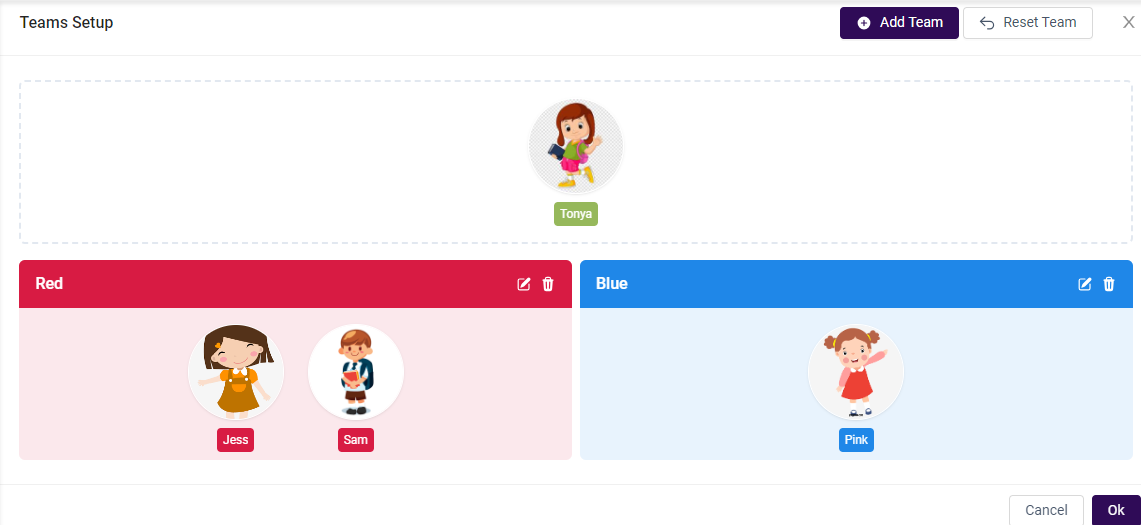
Clicking on the Teams Setup button will open "Setting Teams" page. The system initially displays two teams, one in red and the other in blue. The teacher has the option to keep these teams as they are, modify them using the Edit button, or create new teams by using the Add Team button. Drag and drop students into their teams and click "OK" to save changes. The name of the students takes the color of the team they belong to.
By default, Team Mode is not enabled when the teacher starts a session. To enable it, click on the Teams toggle. In team mode, students are displayed based on the team name and color (if) assigned before the session.
If teams are not set before the session, a teacher can configure them during the session using the Edit button next to the Teams toggle. During a session, the teacher can modify teams, add new teams, reassign students to different teams, change team colors, or mute/unmute all members of each team.
Not every student needs to be in a team. Teachers decide if students need to be in a team.
How to End a GrapeSEED Connect Session
To end class properly, click on the Exit button on the top right of the screen. In the popup, you will need to select whether you would like to mark the class as complete. If this option is checked, the lesson number in the unit plan will automatically be incremented. If left unchecked, the unit plan will be unaffected, and you may still end class.
How Disconnection is Handled
When you have connection issues, try Troubleshooting Disconnection Issues.
Student Disconnection
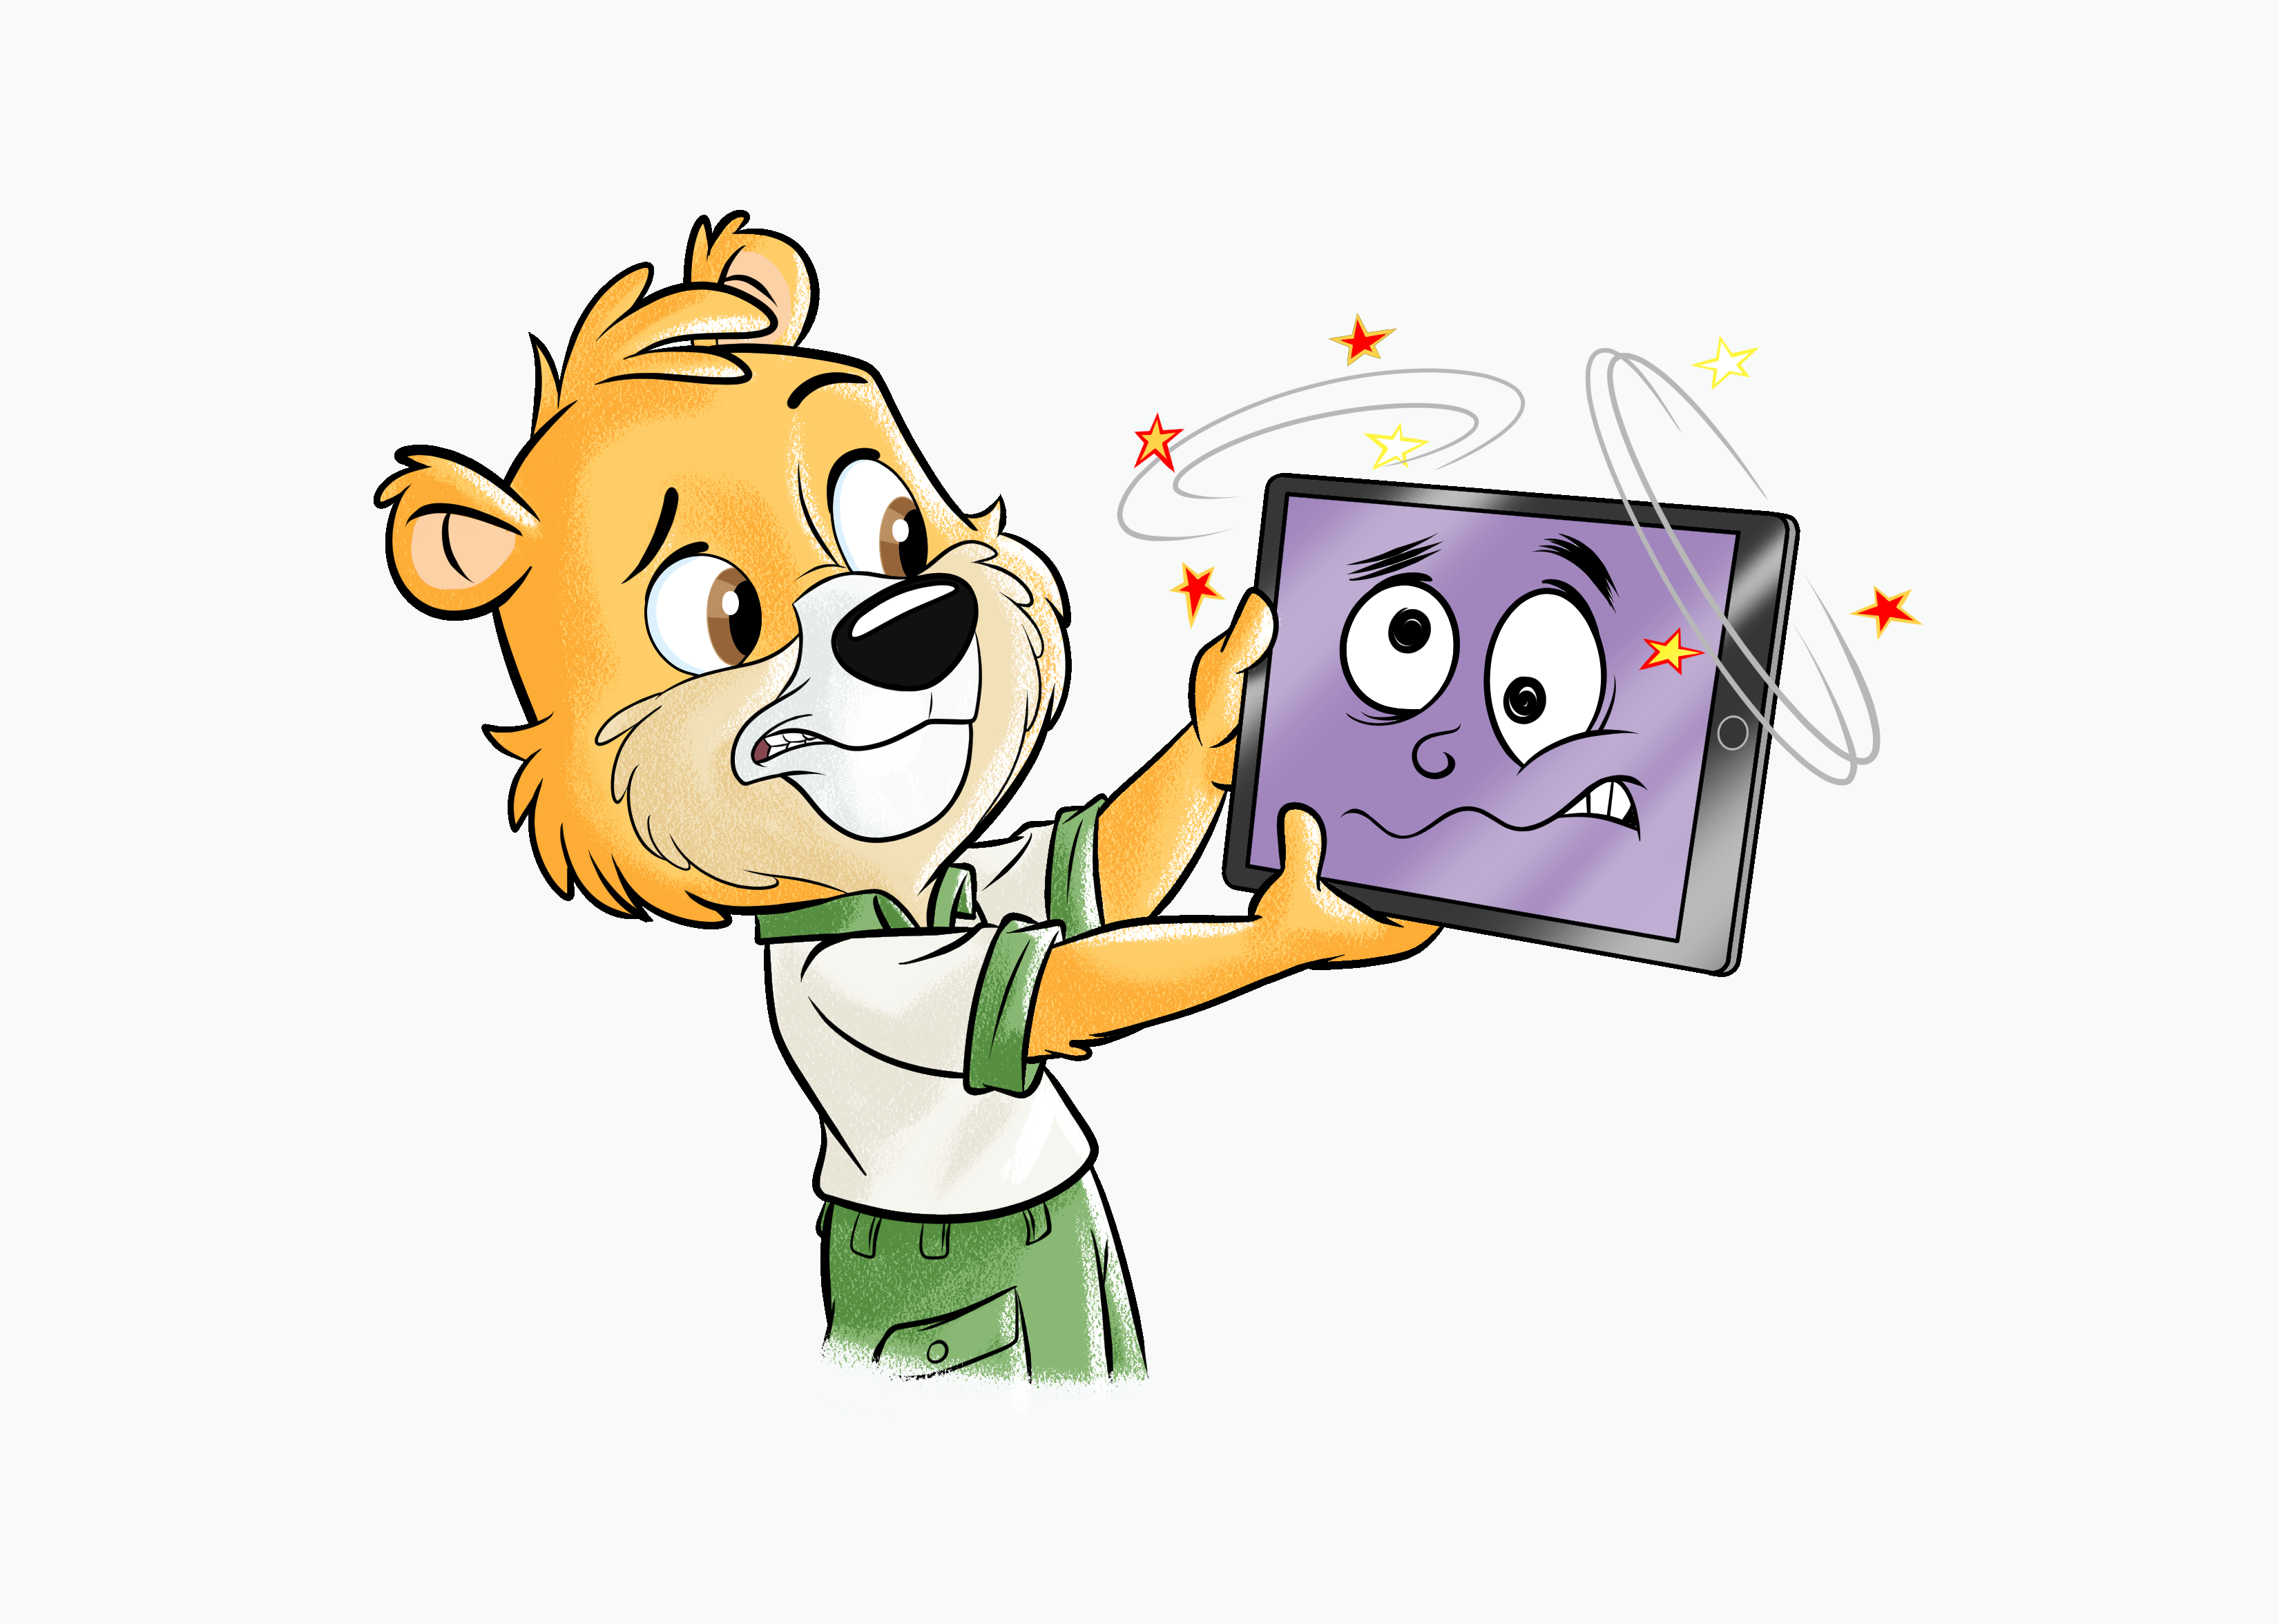
When a student gets unexpectedly disconnected from the class, their screen will show Jonny Bear holding a confused looking tablet, indicating that there is some technological issue preventing their connection.
The teacher also receives a small notification in the upper right corner of the screen stating which student was disconnected. Parents can be instructed to follow the troubleshooting tips provided below.
Teacher Disconnection
Even though you have disconnected, your students will still be in the class. The class will remain open for 3 minutes and 30 seconds. The students are immediately notified by Jonny Bear saying, “Please wait for your teacher.” After 30 seconds, Jonny Bear invites the student to watch something while they wait for their teacher. A component will be played for the student for the remaining 3 minutes of disconnection.
If the full three and a half minutes pass without the teacher reconnecting, the class will close, and students will see a screen indicating that the teacher is having connection difficulties.
If at any point you reconnect, the class continues from where it was at the moment of disconnection.
Troubleshooting Connection Issues
Occasionally you may run into connection issues with GrapeSEED Connect. These issues are typically not caused by Connect itself, but there are some basic tips that you can follow to try and resolve the issue.
- Try to open a different website to check your connectivity
- Try using a different browser (if on a computer)
- Ensure the device is charged and/or plugged in
- Ensure that airplane mode wasn't accidently turned on and/or that wifi wasn't accidentally turned off on the device
- Ensure the wifi router is working properly. You may need to unplug the router for a minute or two and then plug it back in
- If everything appears to be working, try clearing the browser cache/history or reloading without the cache using Ctrl+F5 (Windows) or Command+R (Mac)
- If all else fails, try restarting the device