The Bulk Class Editor
If your school or campus has more than one class, the Bulk Class Editor gives you and your teachers the ability to view, update, and make changes to your classes en masse. Instead of making each change at the individual class level, you can make changes across the board.
You may access the Bulk Class Editor online by logging into the Schools.GrapeSEED website listed above.
How to Use The Bulk Class Editor
To open the Bulk Class Editor, you must select a specific campus to edit classes for. To do so, log in to the Schools.GrapeSEED website and select your desired campus from the drop down menu. From the campus page, click on Manage Campus to the right of the campus name. From the drop down menu, select Bulk Class Editor.
The 'Bulk Class Editor' lets you edit, promote, add, and/or duplicate multiple classes at a time.

With the Bulk Class Editor, you may view and edit the following information (gray fields cannot be edited):
- Class name - Edit/enter the name of the class.
- Term - Edit/enter the term year for the class.
- Start date - Edit/enter the start date for the class from the drop-down calendar.
- End date - Edit/enter an end date for the class from the drop-down calendar.
- Close date - When 'Close' is selected in the 'Action' field, edit/enter a close date for the class from the drop-down calendar.
- Administrative Actions - Select 'Promote' to promote the class, 'Duplicate' to duplicate the class, or 'Close' to close the class. Select 'None' (default) to take no action.
- Keep teachers - If 'Promote' or 'Duplicate' is selected in the 'Action' field, check this checkbox to keep the teachers with the promoted or duplicated class.
- Keep students - If 'Promote' or 'Duplicate' is selected in the 'Action' field, check this checkbox to keep the students with the promoted or duplicated class.
- Licenses - Enter the number of licenses for the class.
- Curriculum type - Shows the class curriculum type GrapeSEED or LittleSEED and it is non-editable.
- License type - Click the arrow and select the available license type from the drop-down list.
- Age/Grade - Enter the age/grade of students.
- Start unit - Click the arrow and select the number of the starting unit.
- Max unit - Click the arrow and select the number of the highest, or maximum, unit for the class.
- Keep class times - If 'Promote' or 'Duplicate' is selected in the 'Action' field, check this checkbox to keep the same class times for the promoted or duplicated class.
- Class times - This field shows the days of the week for the class and cannot be edited.
- TSI minutes/week - Click this field and use the +/- buttons to increase or decrease the TSI minutes per week.
- TSI lessons/week - Click the drop-down arrow and select the number of TSI lessons per week.
- TSI lessons/year - Click this field and use the +/- buttons to increase or decrease the TSI lessons per year.
Click the New class button to add a new class to the list of classes in the editor.
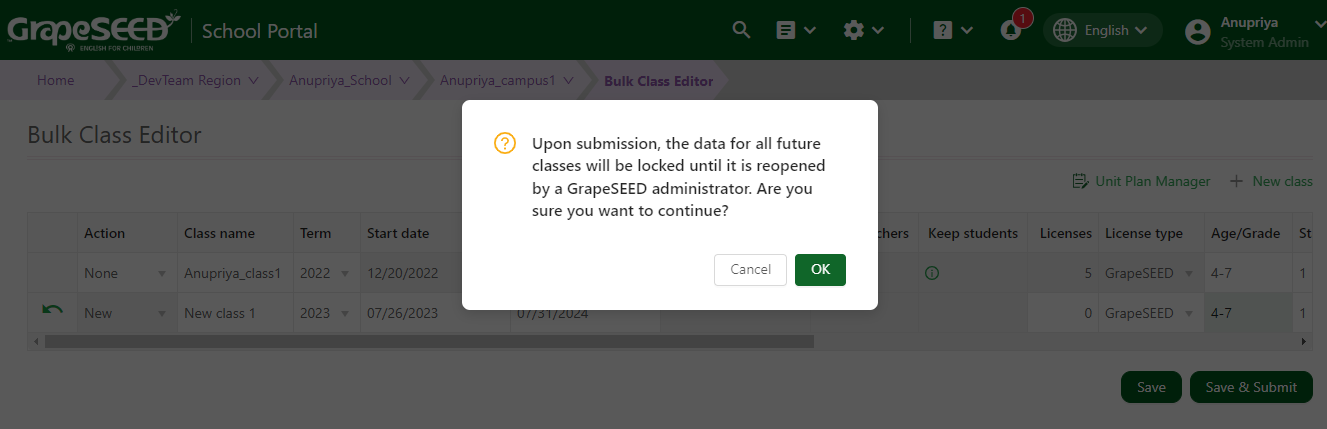
Once all classes have been updated save the details with a Save button. Clicking on the Save and Submit button will mark the annual preparation complete for that campus. The user will not be able to edit class data in that campus including moving and promoting students.