How to Manage Settings
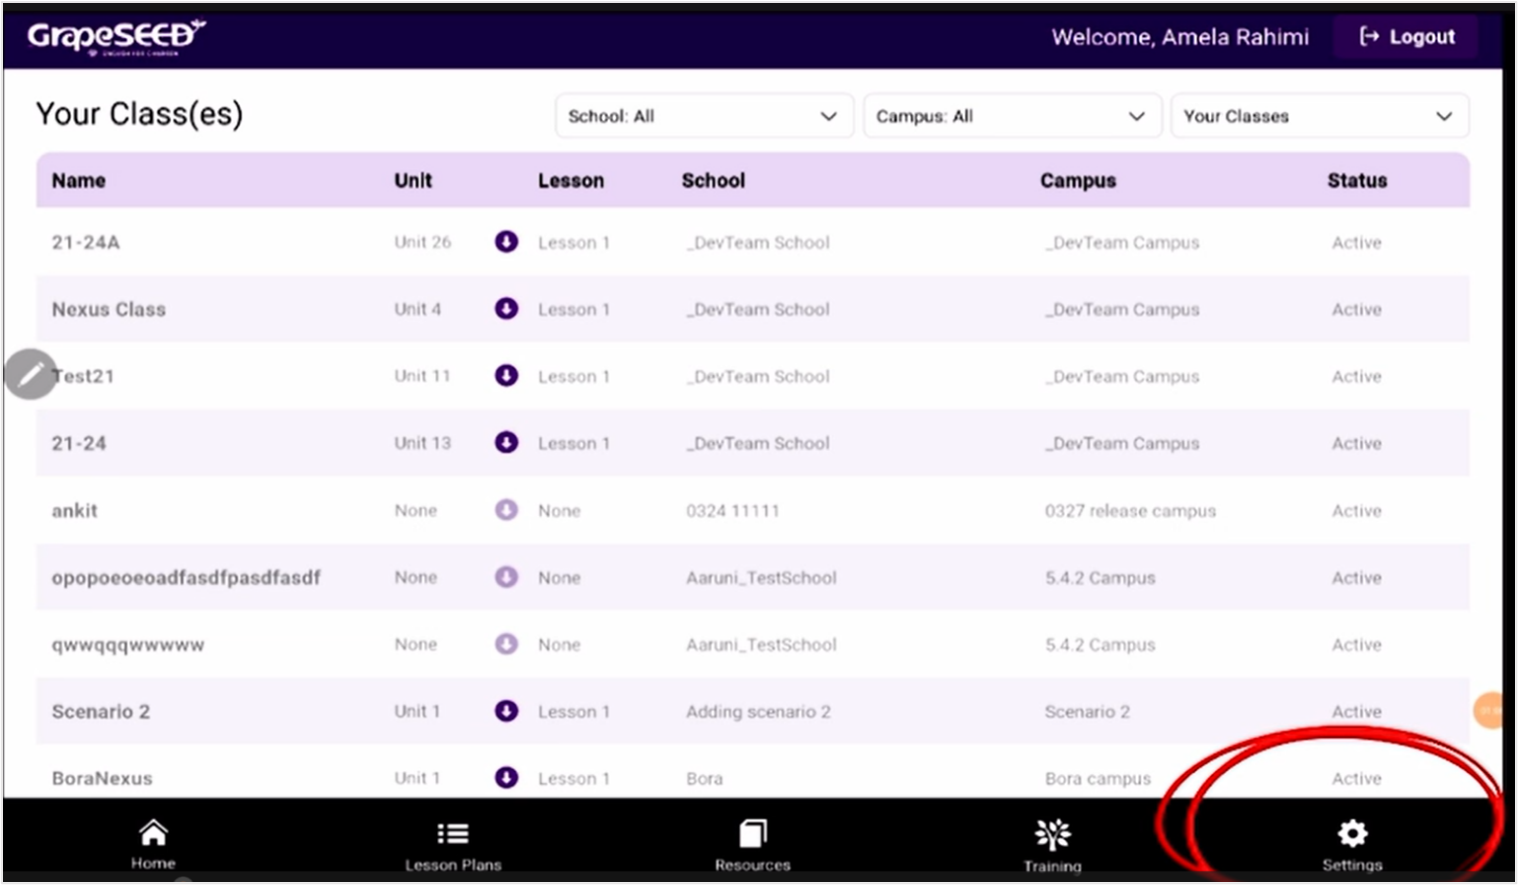
To access the GrapeSEED Nexus app settings, open the collapsible menu at the bottom of the screen and click on Settings ![]() . This will open the Settings page.
. This will open the Settings page.
On the setting screen, the following features are available:
- Downloading Content on Wi-Fi
- Download Manager
- Set up Casting
- Casting Provider
- Using ChromeCast technology: How to Connect and Cast
- Using GrapeSEED Nexus Casting: How to Connect and Cast on Windows
- Using GrapeSEED Nexus Casting: How to Connect and Cast on Mac
- Information Page
- Request Help
Downloading Content on Wi-Fi
Only Download content on WiFi" setting enables or disables a restriction to only download content on WiFi. If enabled, the app will not use mobile data to download content.
Download Manager
The download manager allows users to manage all the available content for each unit they have access to.
- Main lesson content
- Optional content
- Resources
The Main content is the Lesson content that includes Teaching components. Optional content is the Additional content that can be REP audio or videos. Resources are the Teacher manuals, Teacher Materials, and Resources.
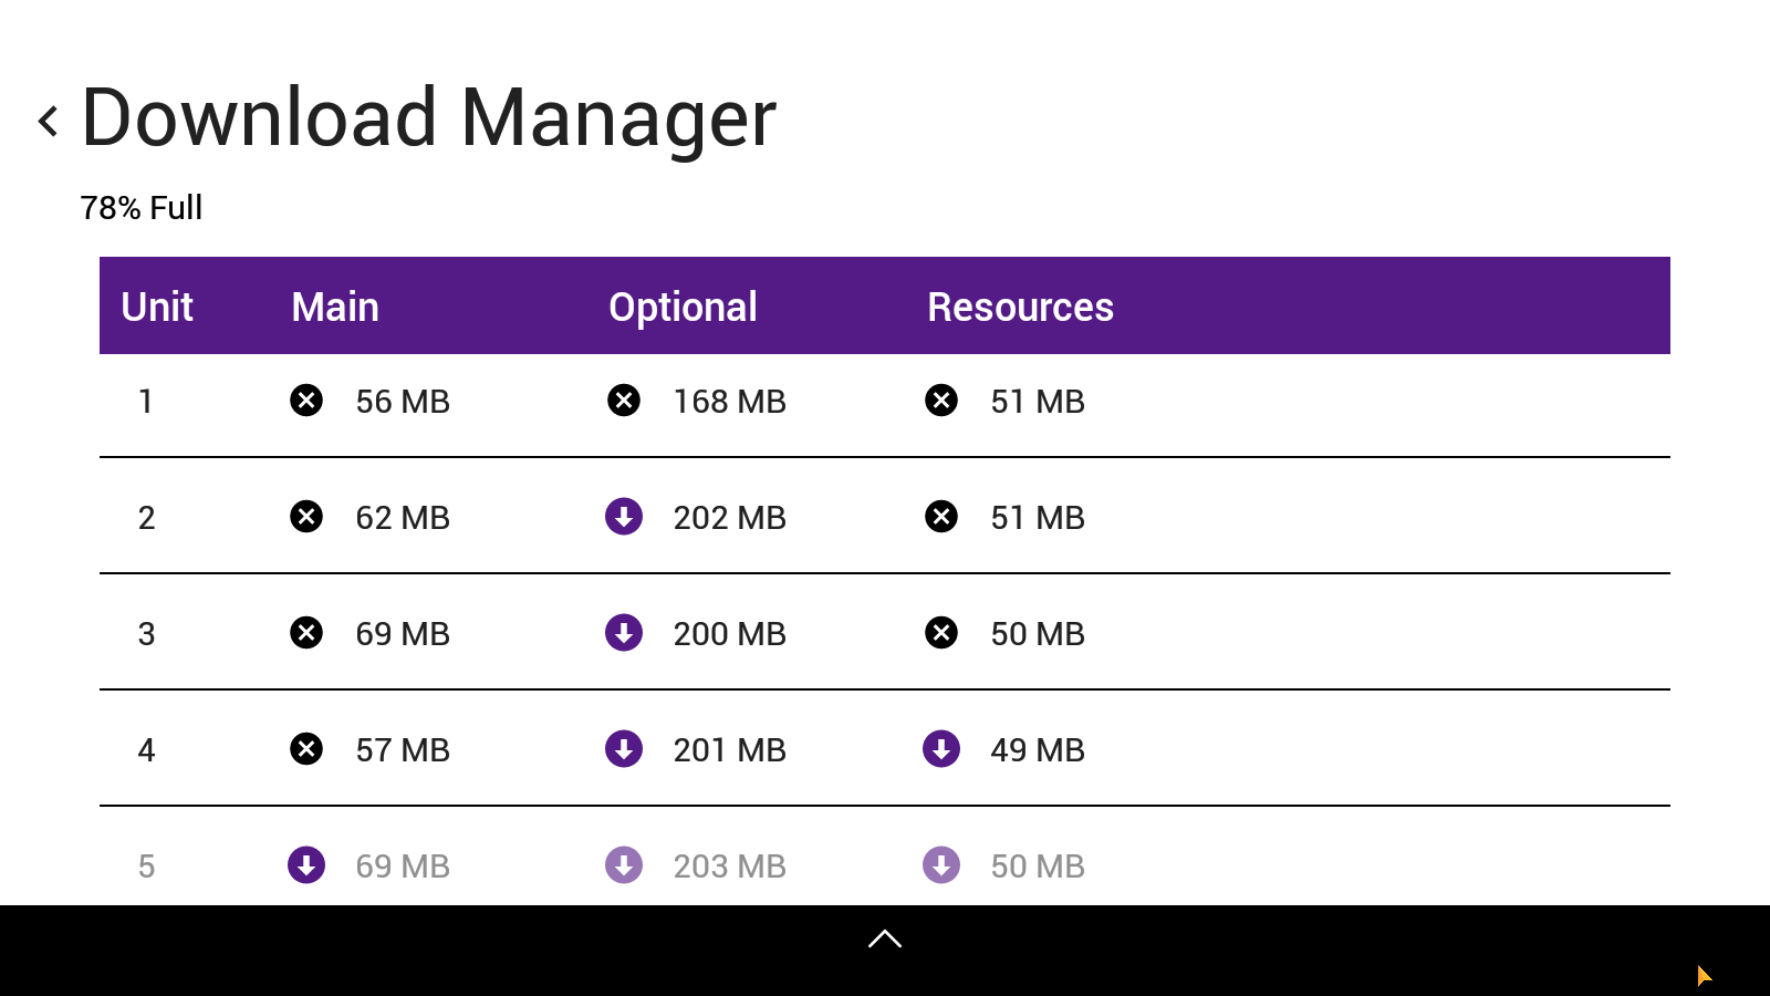
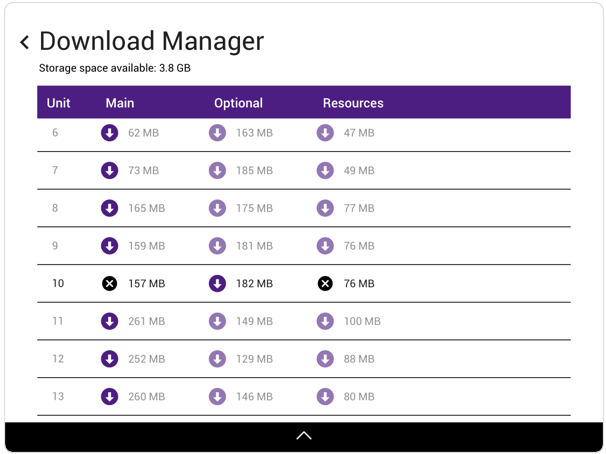
How to Download Unit Material
The icons next to each unit show whether the materials of that unit have been downloaded or not. ![]() icon shows the content is still pending for the download and
icon shows the content is still pending for the download and ![]() icon shows the content has been downloaded which you can delete by clicking on
icon shows the content has been downloaded which you can delete by clicking on ![]() .
.
To download the unit material, simply click on the download ![]() icon. The timer
icon. The timer
![]() icon will show you the download status. Once the downloading is completed you will notice the download icon is replaced by the
icon will show you the download status. Once the downloading is completed you will notice the download icon is replaced by the ![]() icon .
icon .
Additional Content and Resources cannot be downloaded until the Main unit content is downloaded.
Set up Casting
External devices and tools are required to cast GrapeSEED Nexus content. You should set up your Chromecast device or GrapeSEED Nexus Casting software, the additional tool before casting GrapeSEED Nexus content. Click the “Set up Casting” option on the Settings page to read step-by-step casting instructions for "Chromecast" and "GrapeSEED Nexus Casting" respectively.
For detailed information about Chromecast, read Google's Chromecast Documentation and Chromecast Setup Interactive Guide.
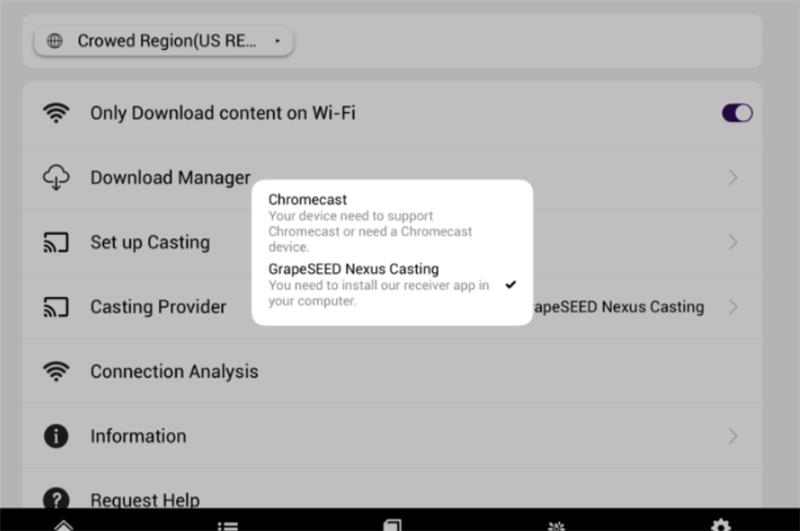
Casting Provider
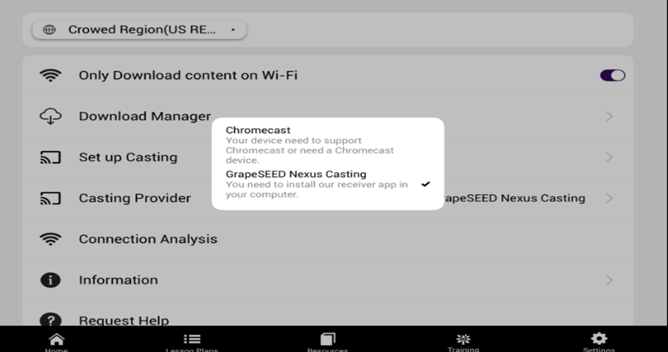
The “Casting Provider” option allows you to choose a casting method for GrapeSEED Nexus casting. Clicking on this tab will open a popup window where you can select Chromecast or GrapeSEED Nexus Casting as a casting provider.
By default, Chromecast is set as a casting provider. It is recommended to check the casting provider (Chromecast or GrapeSEED Nexus Casting) on the GrapeSEED Nexus settings screen before casting.
Using ChromeCast technology: How to Connect and Cast
Setting up Chromecast
To set up a Chromecast, you need a basic WiFi network environment with a tablet and a remote display.
- Connect the Chromecast to the power supply and the screen or projector using the HDMI port. Follow any instructions that came with the Chromecast and ensure it is set up properly.
- After setting up Google Home and confirming that the Chromecast is visible on the screen, tap the "search" button on the right. Make sure that the name of the Chromecast appears in the list. If the Chromecast cannot be found, ensure that both devices are connected to the same Wi-Fi network. You can try restarting the Chromecast or router if needed. Once you see the Chromecast in the list, select the Chromecast you want to link with.
- Click the “Casting” button.
- Click the “Full Screen” button. Ensure the below screen is shown on the display:
- The casting setup is now complete. If you did not see the image cast onto the display, please ensure the Chromecast is set up properly or contact support.
The Chromecast setup is very well documented by Google on their support website: Chromecast Setup from Google Support. The OS-specific interactive guide can be read from the Chromecast Setup Interactive Guide.
Compatibility Check between GrapeSEED Nexus app and Chromecast Device
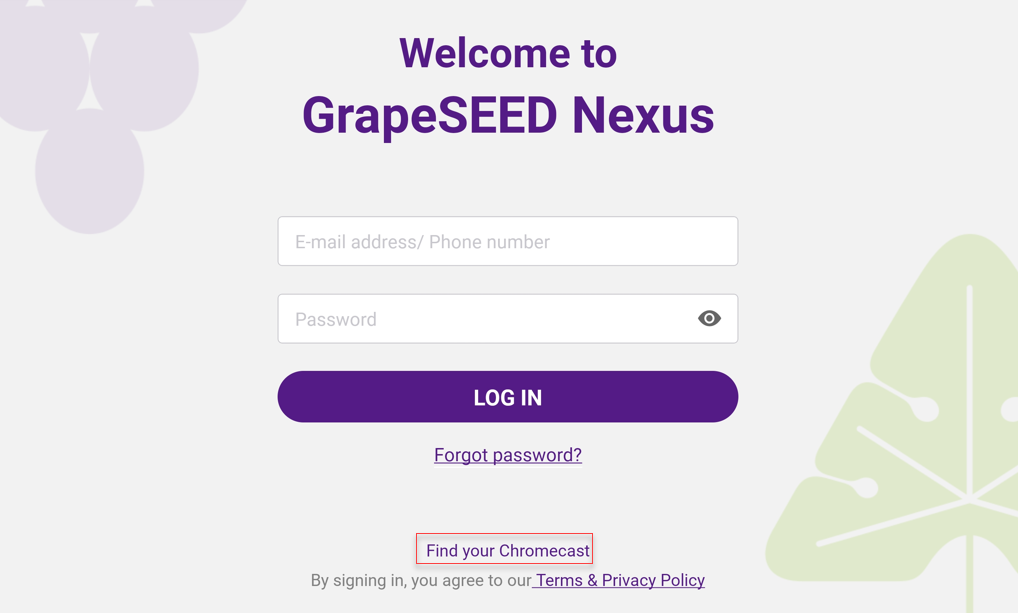
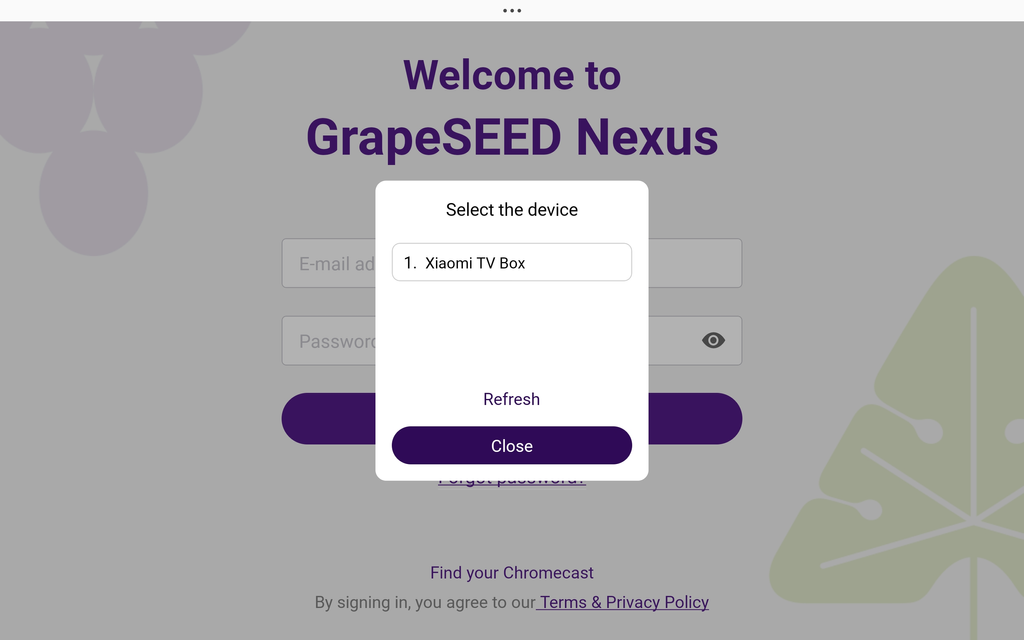
You can check the compatibility between the GrapeSEED Nexus app and the device through the login page. On the login page, click the link "Find your Chromecast". A pop-up will open showing scanned devices around the tab. You can tap on it to start casting. "If the casting is successful, you will see a message indicating the successful connection.”
Using GrapeSEED Nexus Casting: How to Connect and Cast on Windows
Setting up GrapeSEED Nexus Casting Software Tool
GrapeSEED Nexus App offers casting option through the installation of a tool that allows casting via a Windows-based device. This casting method requires two devices: a tablet with the GS Nexus App and a Windows-based device for the GrapeSEED Nexus Casting software. Once both devices are set up, users can seamlessly cast content from the GS Nexus App to any Windows device. To start casting from a windows-based device follow the instructions below:
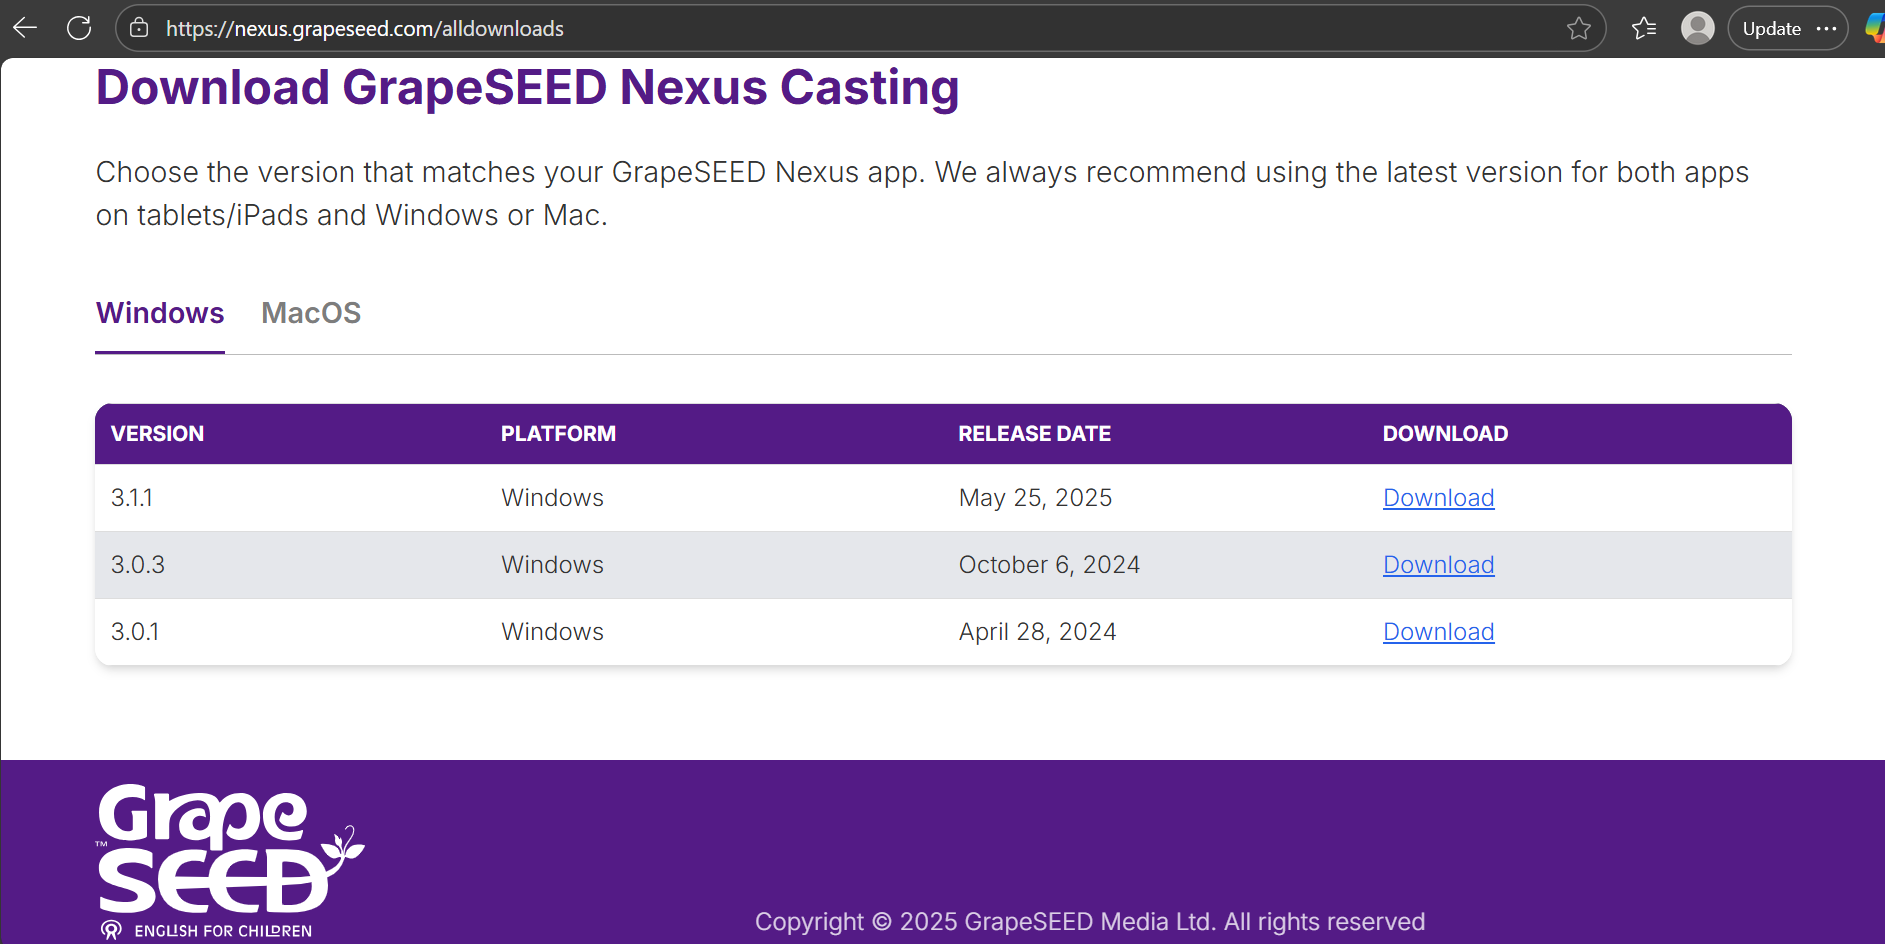
• Open a browser on your Windows device and navigate to the GS Nexus Casting App download page: GrapeSEED Nexus Casting software

• Click on the Tab Windows and Download GrapeSEED Nexus Casting for Windows.
Always choose the latest version to download.
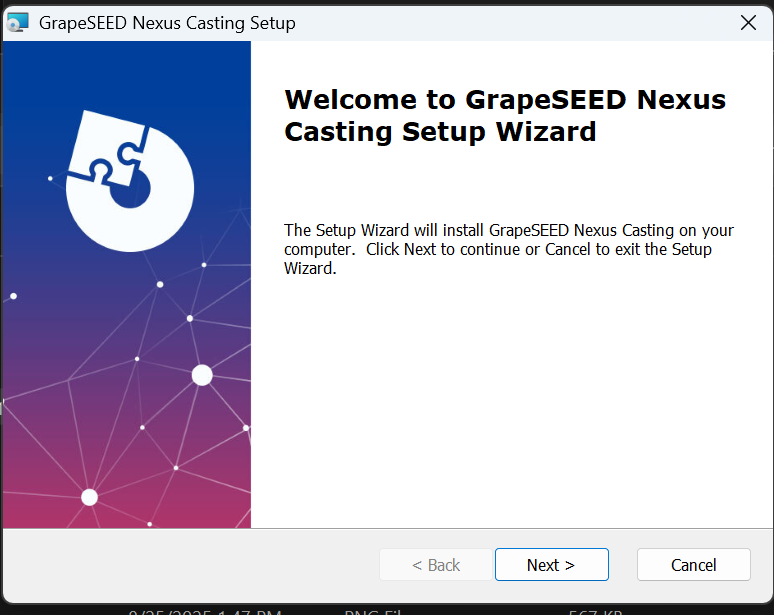
• Now start the download process on your Windows device. Click "Next >" to continue with the setup.
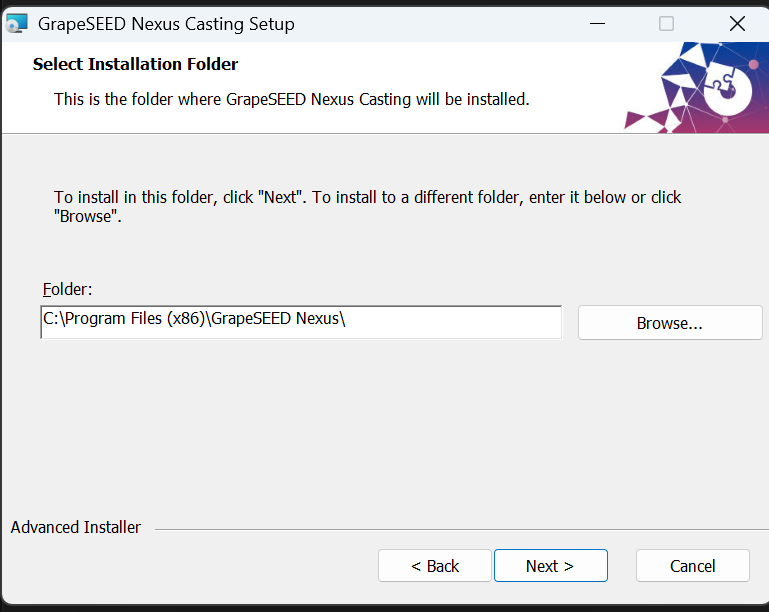
• Choose the folder where the GrapeSEED Nexus Casting tool will be placed in your Windows device.
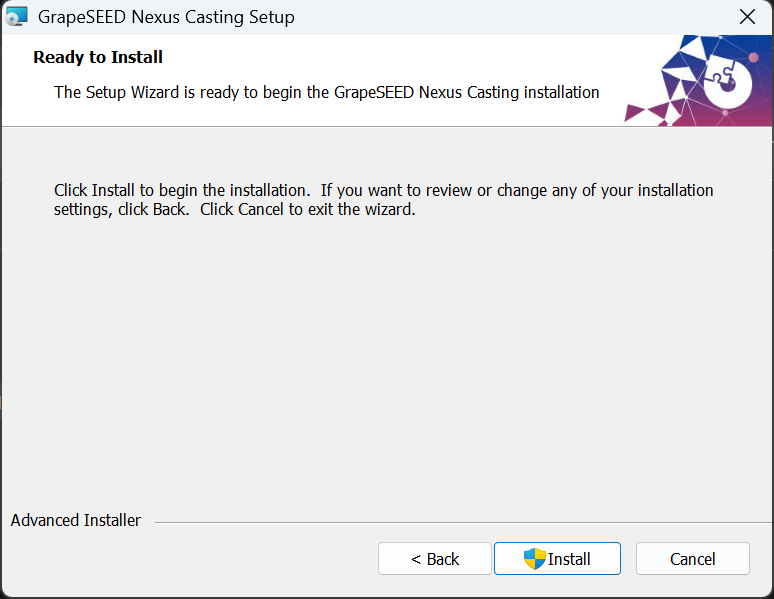
• Click the "Install" button to start installing GrapeSEED Nexus Casting on your computer.
• Ensure that the Windows Device is connected to the same network that the GrapeSEED Nexus App and tablet will be connected.
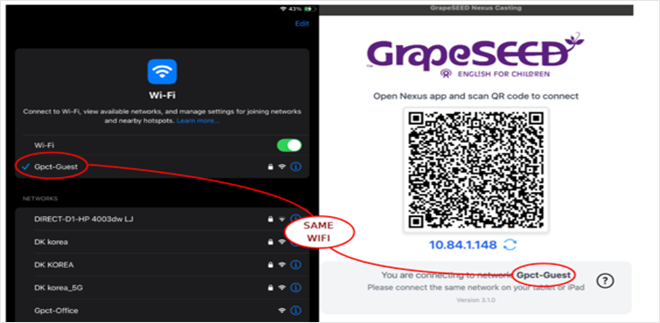
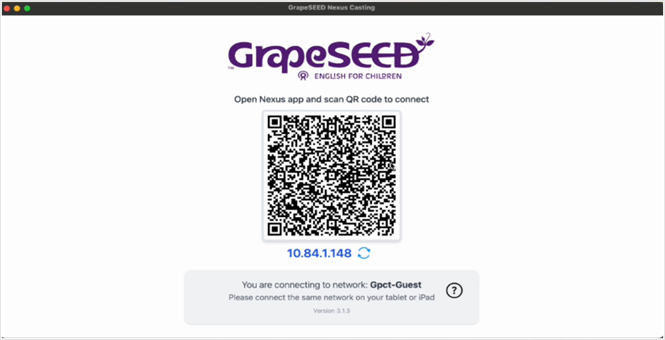
• Open the GrapeSEED Nexus Casting software on your Windows device. A QR code will appear on the screen.
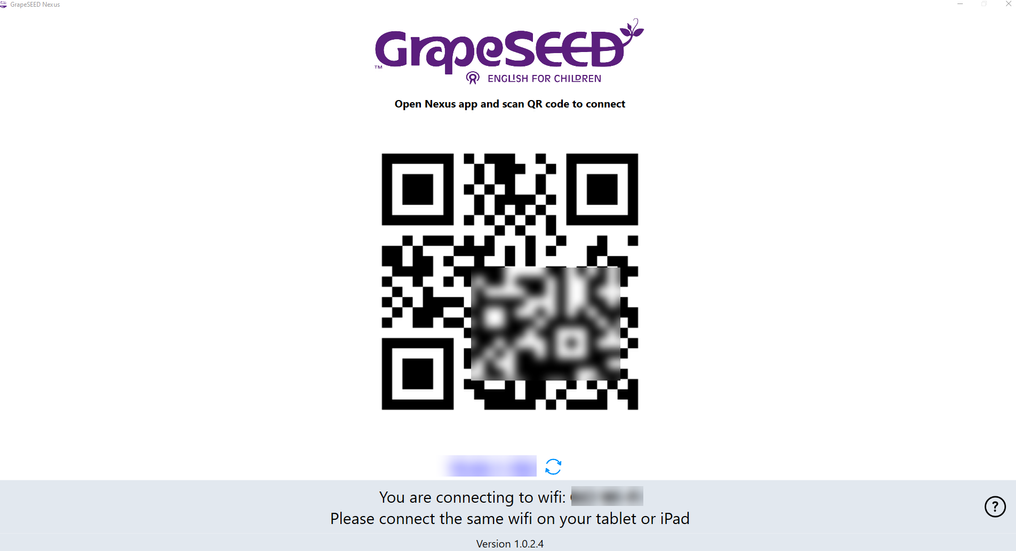
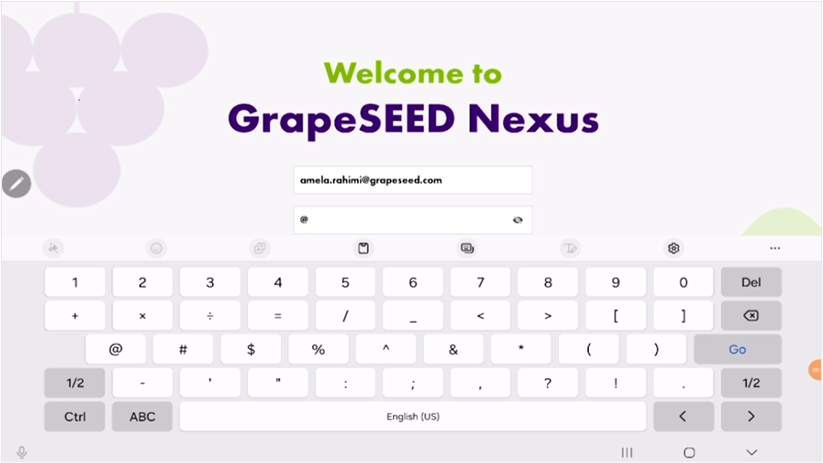
Follow the below configurations and steps for setting up the GrapeSEED Nexus App on a tablet to enable casting to a Windows device using GS Nexus Casting. • Open the GrapeSEED Nexus App on your tablet and log in.
• On the Class screen, click Settings
• In the Nexus app Settings, click “Casting Provider” and select “GrapeSEED Nexus Casting.
• Click the “Home” icon to return to the Class screen.
• Start your class in GrapeSEED Nexus, and once on the classroom screen, click “Start Casting” from the Class view of the GS Nexus App.
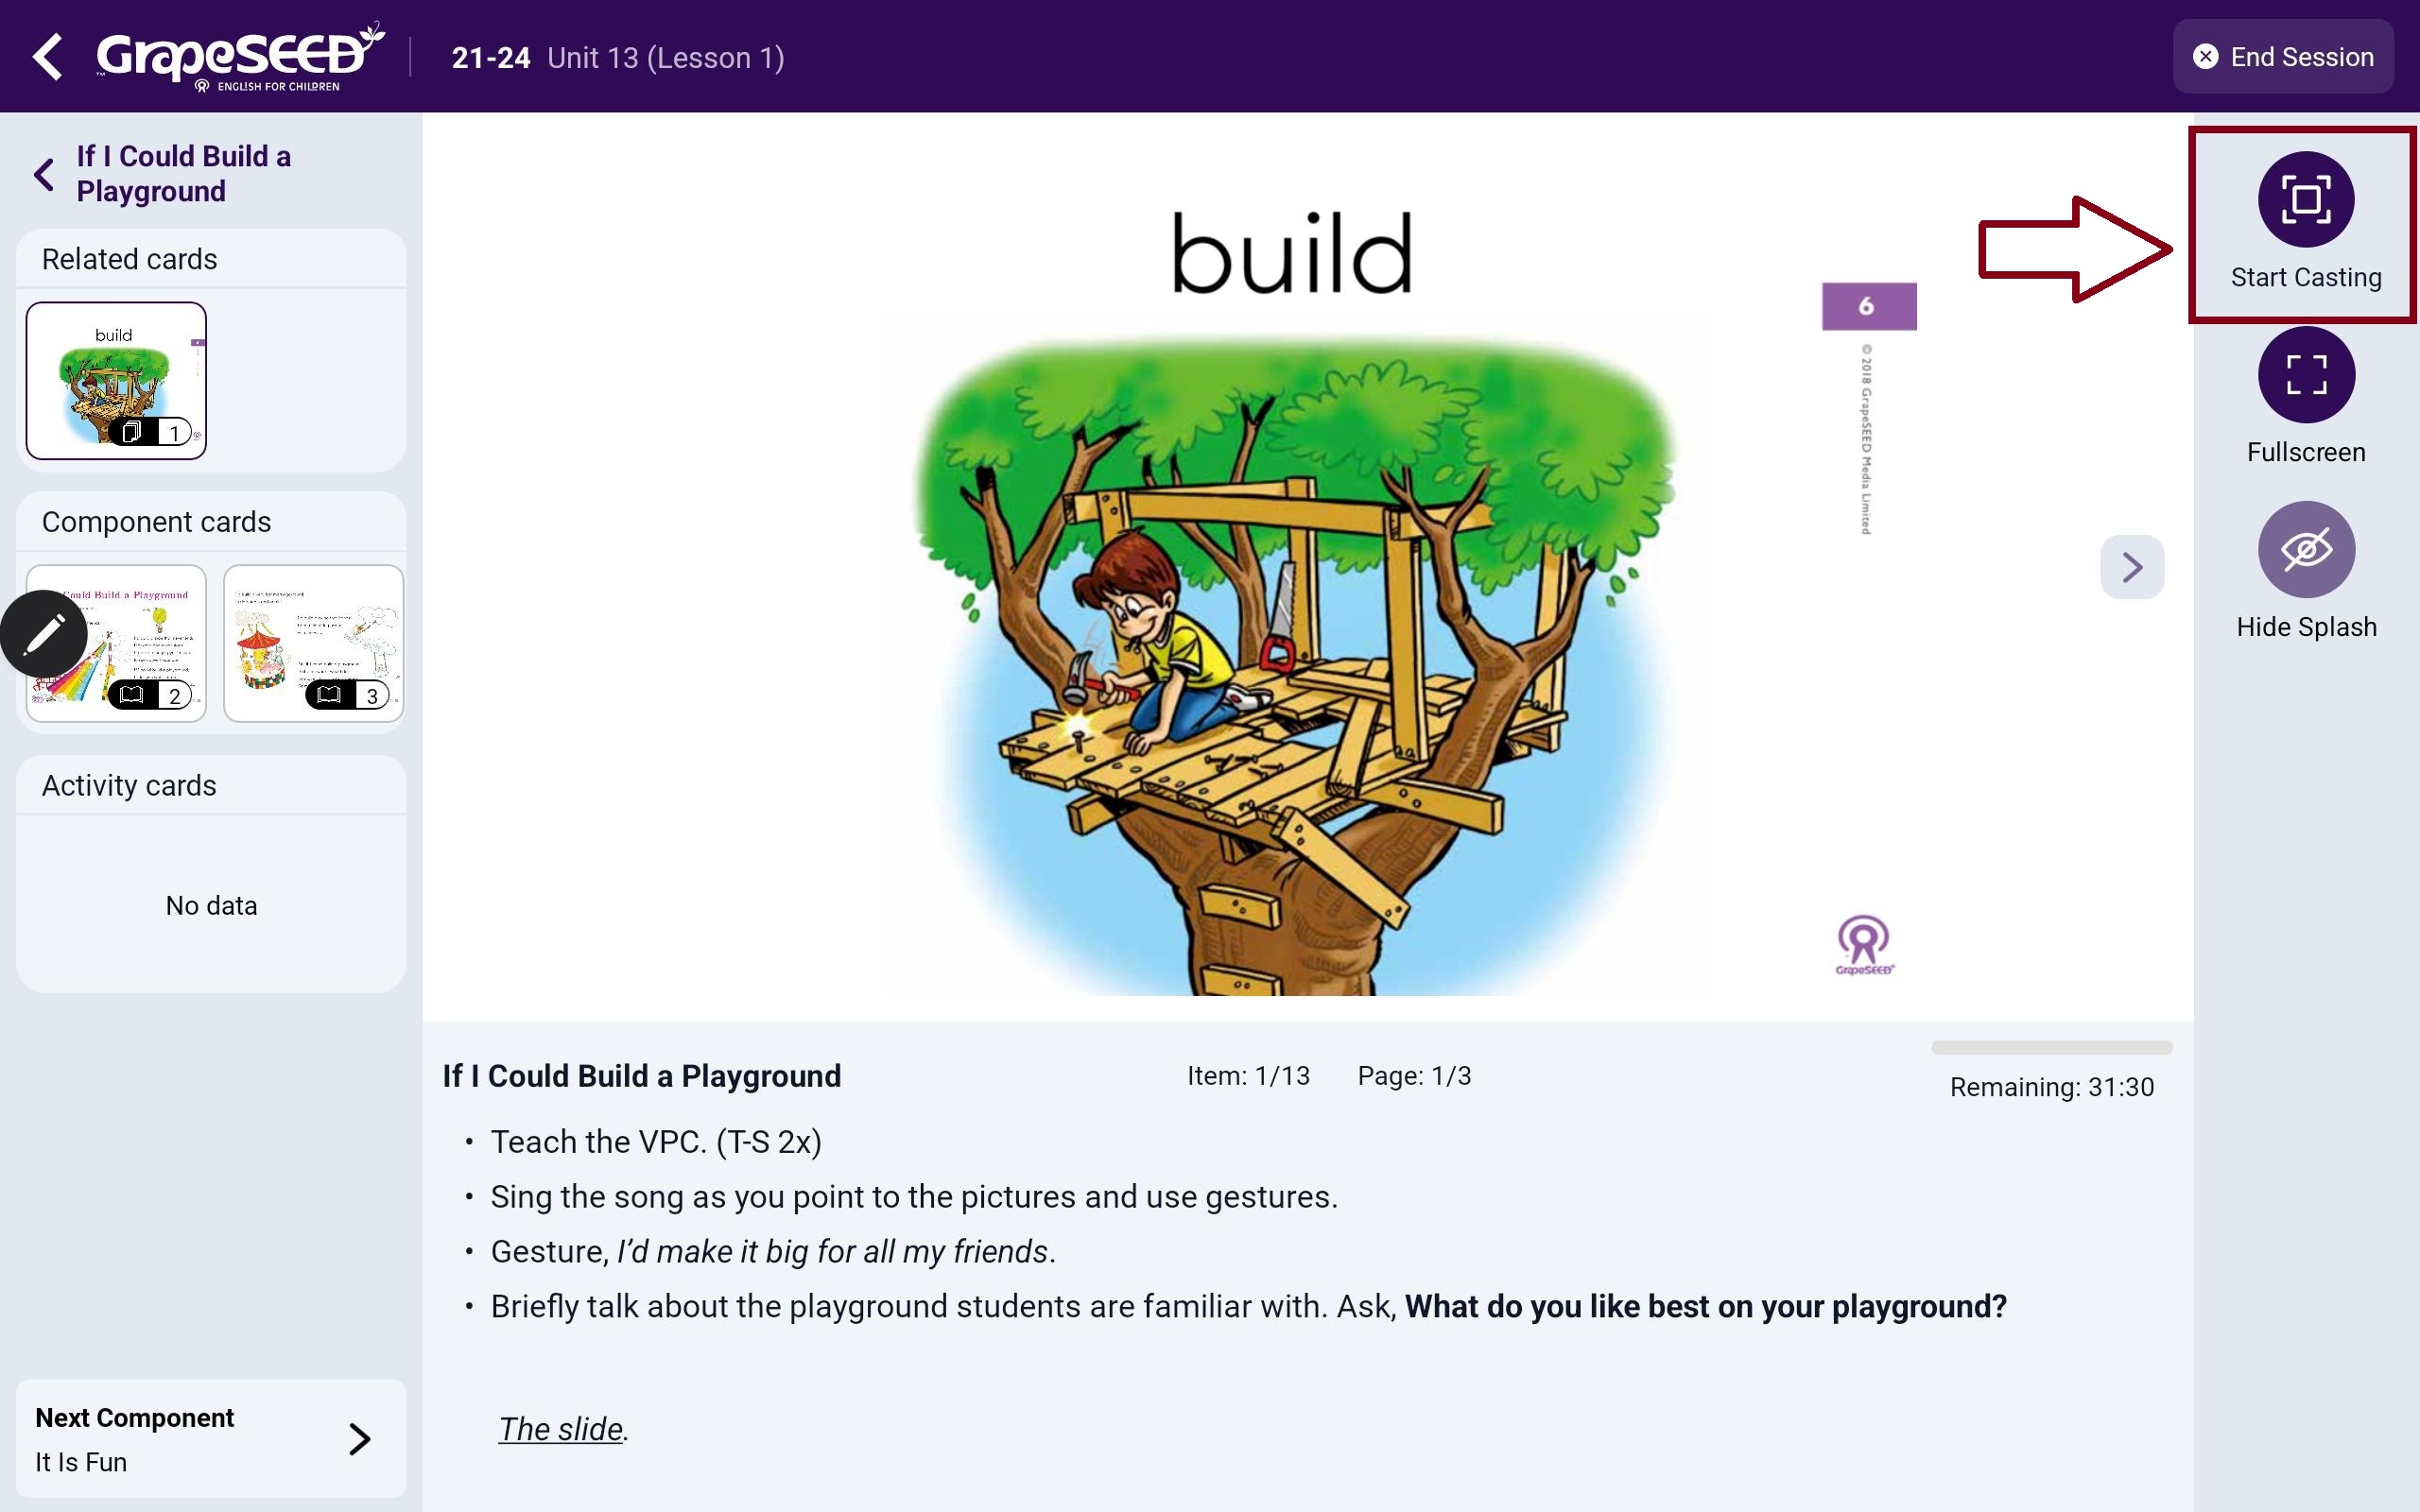
When you click “Start Casting” the tablet’s camera in the GS Nexus App will open automatically. • Hold the tablet in front of the Windows device to scan the GS Nexus Casting QR code displayed on your Windows device.
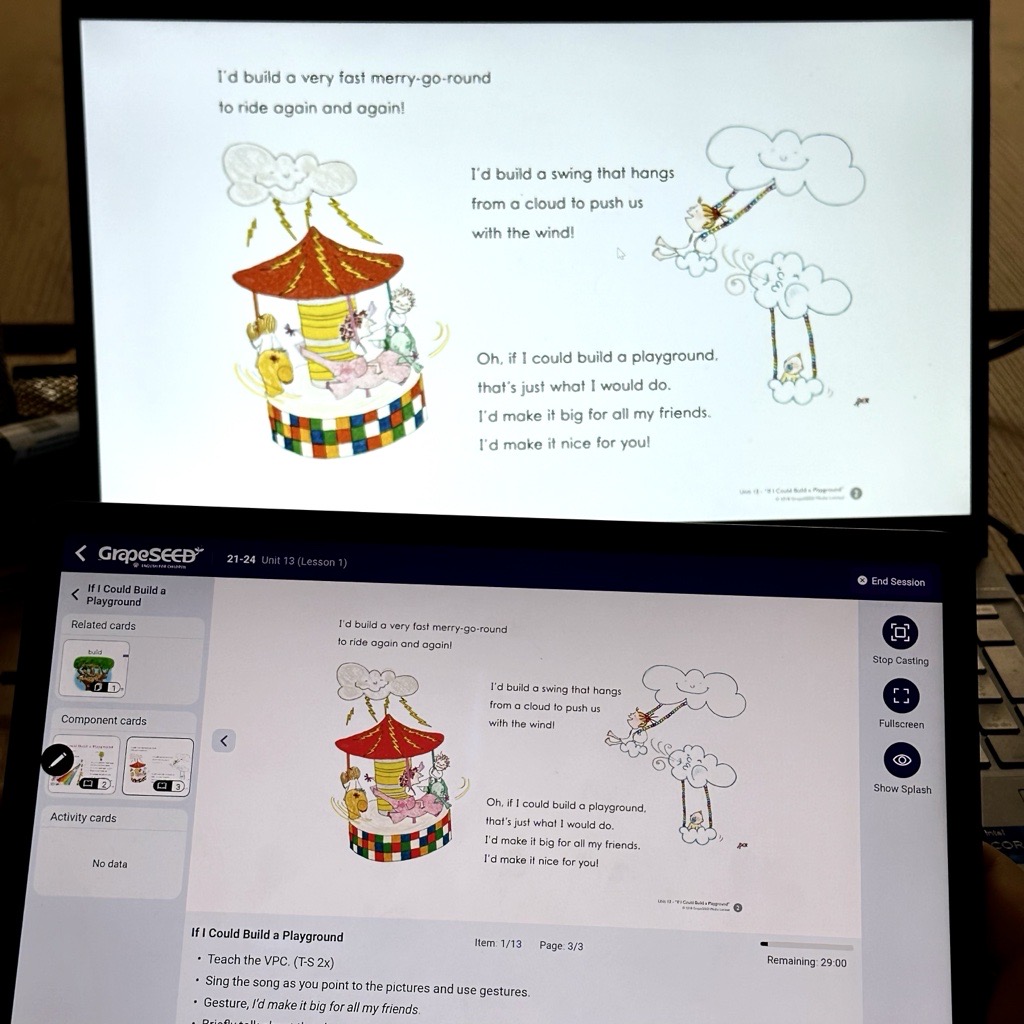
• Once the QR code is scanned, the app will instantly begin casting the content and lesson from the GS Nexus Class.
Using GrapeSEED Nexus Casting: How to Connect and Cast on Mac
Setting up GrapeSEED Nexus Casting Software Tool on Mac
New GS Nexus Casting APP for Mac Devices GrapeSEED Nexus Casting application is now officially supported for MacOS Devices. Users may use it on an iMac, MacBook or even on a Mac Mini. This software has the same functionalities as in the case of Nexus Casting for Windows devices. This casting method requires two devices:
- A tablet (Android or iOS) with the GS Nexus App installed.
- A macOS device (iMac, MacBook, or Mac Mini) running the GrapeSEED Nexus Casting software. Once both devices are set up, users can seamlessly cast content from the GS Nexus App to the macOS device The new software can be downloaded from the dedicated GrapeSEED Nexus website.
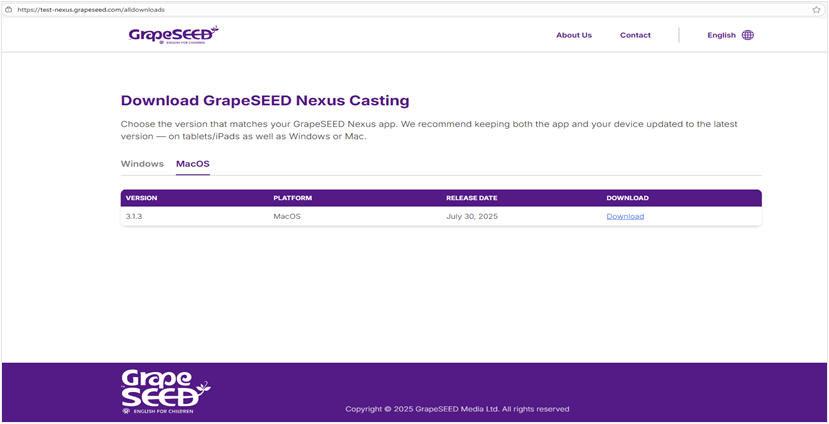
• Open a browser on your MacOS device and navigate to the GS Nexus Casting App download page: GrapeSEED Nexus Casting software
• Click on the Tab -MacOS and Download GrapeSEED Nexus Casting for MacOS.
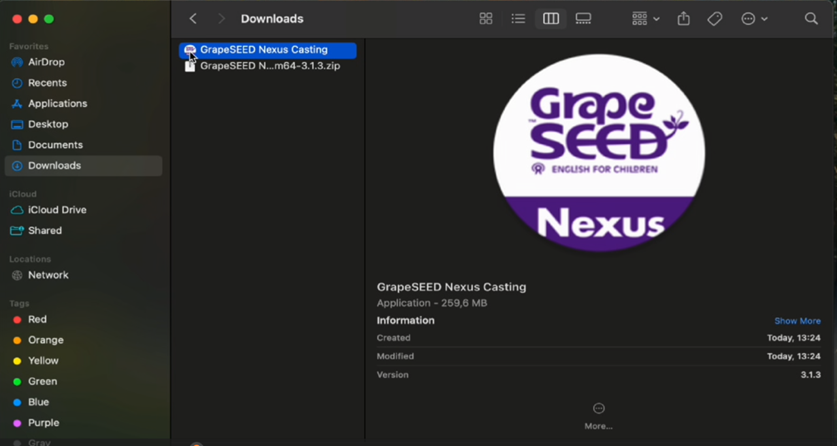
• Download the GS Nexus Casting Tool for Mac, then locate the “GrapeSEED Nexus Casting” ZIP file in your Downloads folder.
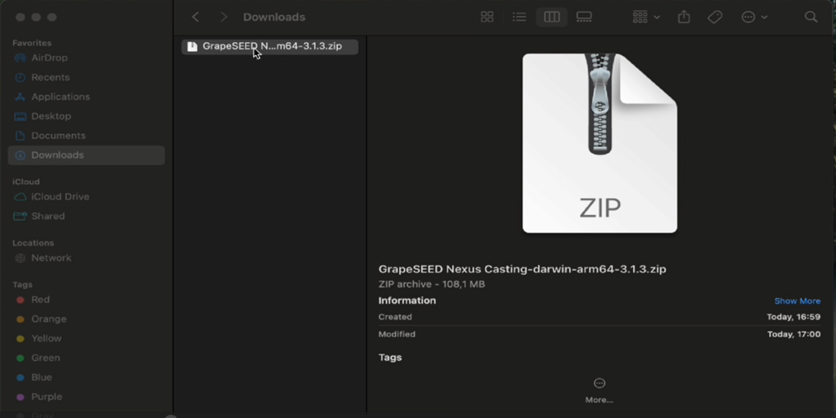
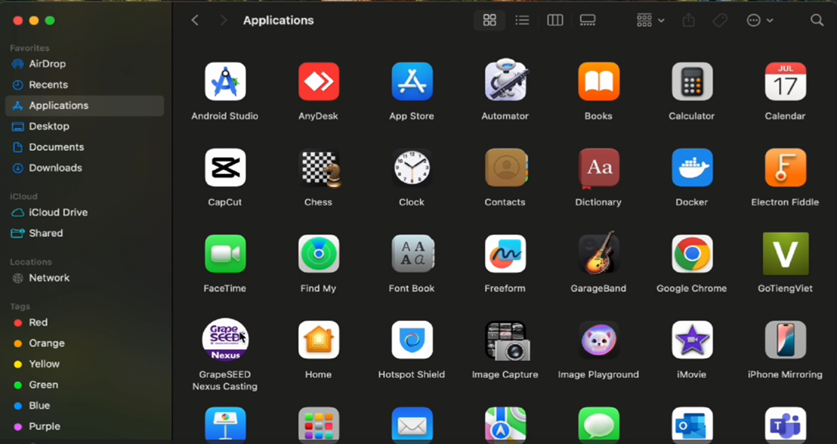
• After downloading, unzip the file and drag the GrapeSEED Nexus Casting App icon into the Applications folder.

• After installation, you can use the GS Nexus Casting App the same way you would on Windows.
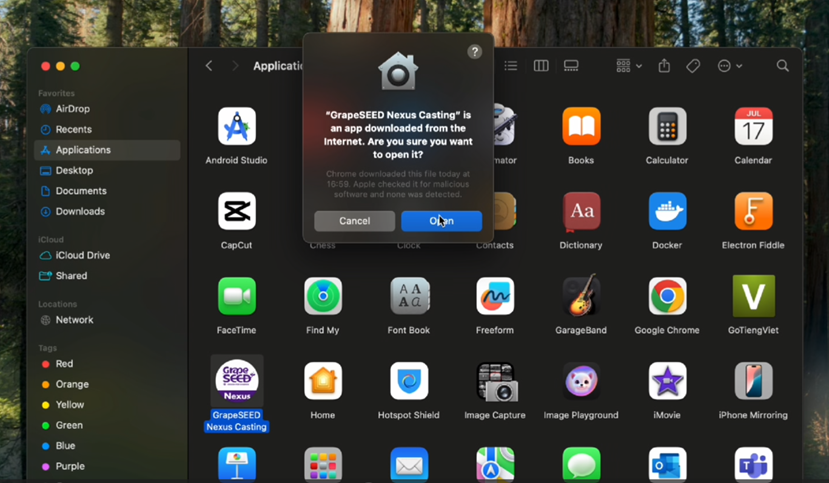
• When you first open the GS Nexus Casting App, you may be asked to confirm if the file is safe. Click Open.
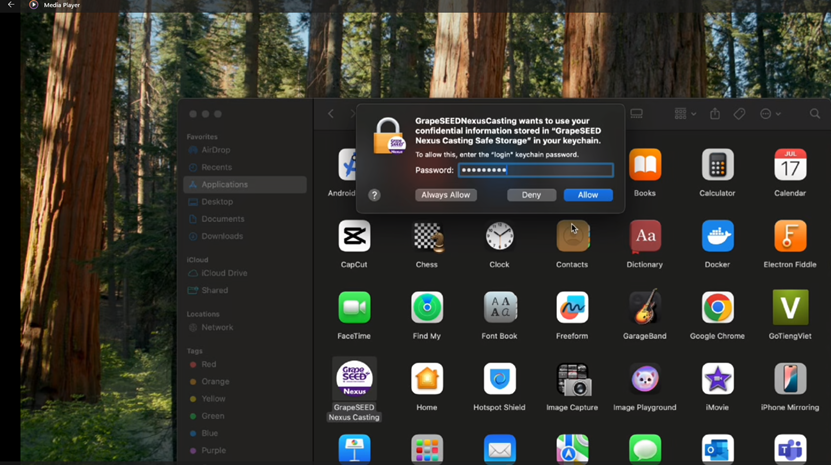
• Additionally, you will be prompted to grant Keychain Access to secure certain settings. Click Allow.
• Ensure that the Mac Device is connected to the same network that the GrapeSEED Nexus App and tablet will be connected.
Follow the below configurations and steps for setting up the GrapeSEED Nexus App on a tablet to enable casting to a Mac device using GS Nexus Casting. • Open the GrapeSEED Nexus App on your tablet and log in.
• On the Class screen, click Settings
• In the Nexus app Settings, click “Casting Provider” and select “GrapeSEED Nexus Casting.
• Click the “Home” icon to return to the Class screen.
• Start your class in GrapeSEED Nexus, and once on the classroom screen, click “Start Casting” from the Class view of the GS Nexus App.
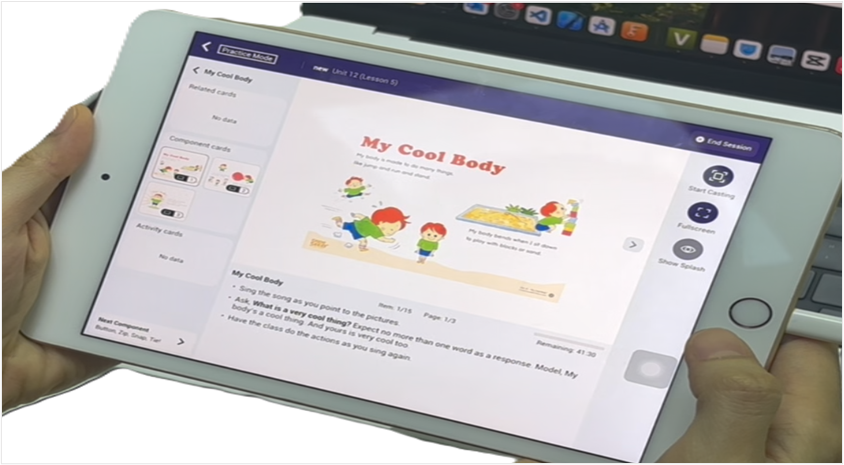
• When you click “Start Casting” the tablet’s camera in the GS Nexus App will open automatically.
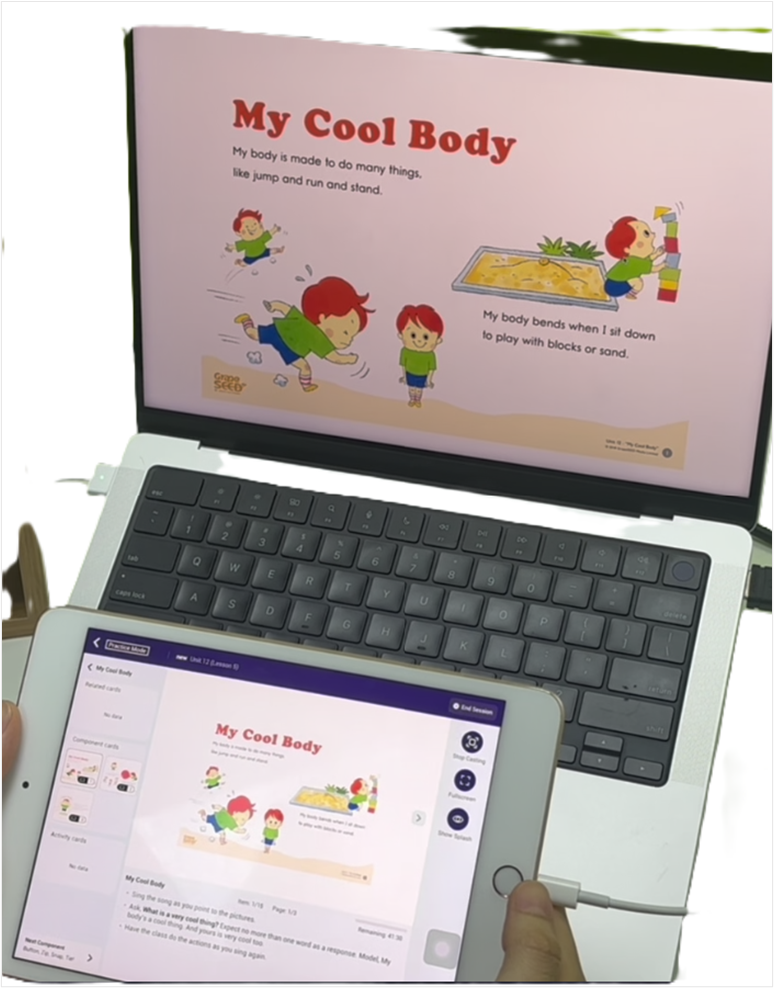
• Hold the tablet in front of the Mac device to scan the GS Nexus Casting QR code displayed on the MacOS device.
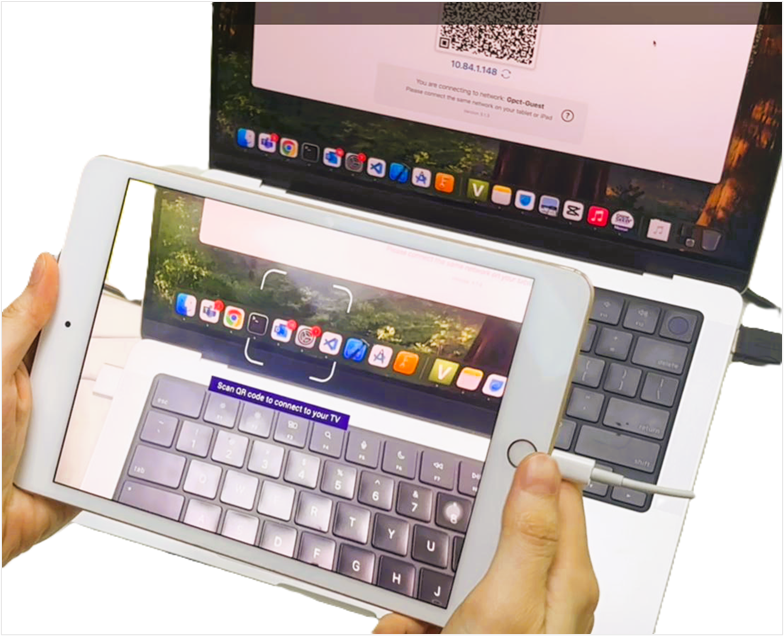

• Once the QR code is scanned, the app will instantly begin casting the content and lesson from the GS Nexus Class.
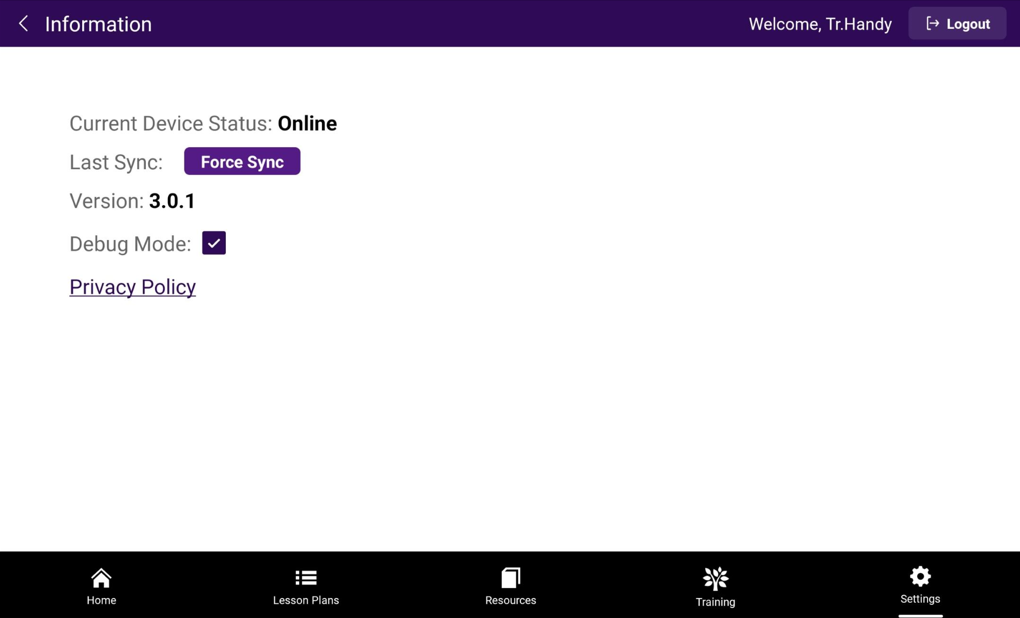
Information Page
The Information page will allow you to optionally force sync app data to the GrapeSEED Portal, view the app version number, enable debug mode, and access a link to the privacy policy.
The version number is a valuable piece of information if you are submitting a support ticket as it will help GrapeSEED Support to identify and resolve the issue you are posting.
The debug mode assists developers in checking bugs easily. The debug mode is only turned on for a day, and it doesn’t affect the teaching experience. Teachers can close debug mode by tapping on the close button in the black bar at the top of the session screen.
Request Help
Clicking on the "Request Help" option will take you to the https://account.grapeseed.com/Account/Help site, where you can submit your queries or request assistance from the support team.