Class Sessions in Nexus
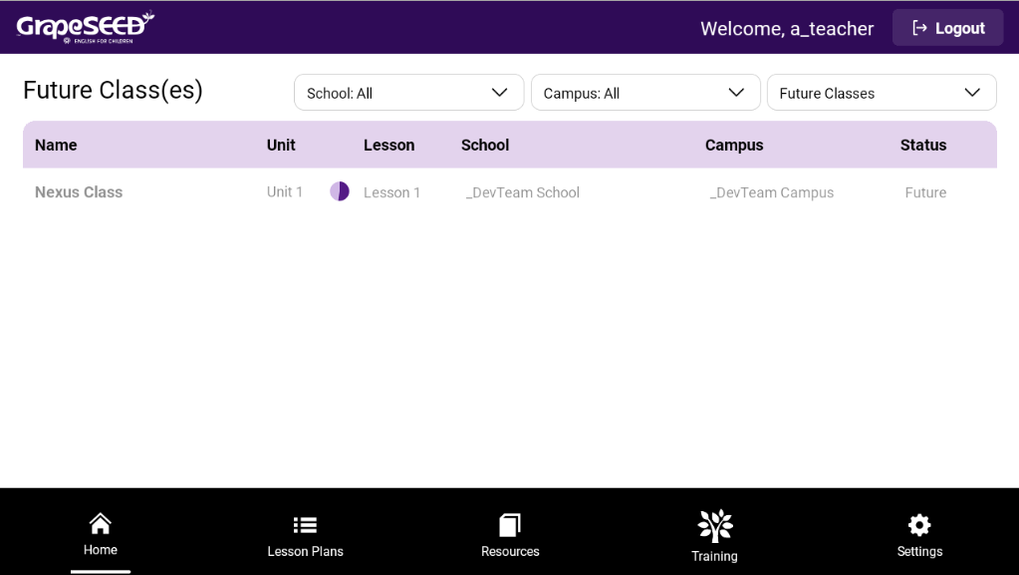
Upon logging into the Nexus App, teachers can view all their assigned classes on the Home Tab, which displays both active and future classes. A dropdown button in the header allows teachers to filter classes by “Active Classes” (ongoing classes with active students) or “Future Classes” (scheduled to start with or without assigned students).
The “Status” column on the home page will indicate whether a class is “Active” or “Future.” Selecting “Future Classes” from the dropdown will display upcoming classes, which teachers can click to open. Teachers will have access to future classes and can start Practice Mode two weeks before the class start date, providing ample time to prepare lesson plans and familiarize themselves with the app. The “Start Practice Mode” button will be clickable for future classes, enabling teachers to interact with the app even if no students are assigned, for two weeks.
You can see the class details of all the classes you have access to such as
- School admins can see all the active classes in a school.
- Campus admins can see all the active classes of a campus.
- Teachers can see all the classes they are associated with.
- Coach or Training managers can see the classes of all the schools they are associated with.
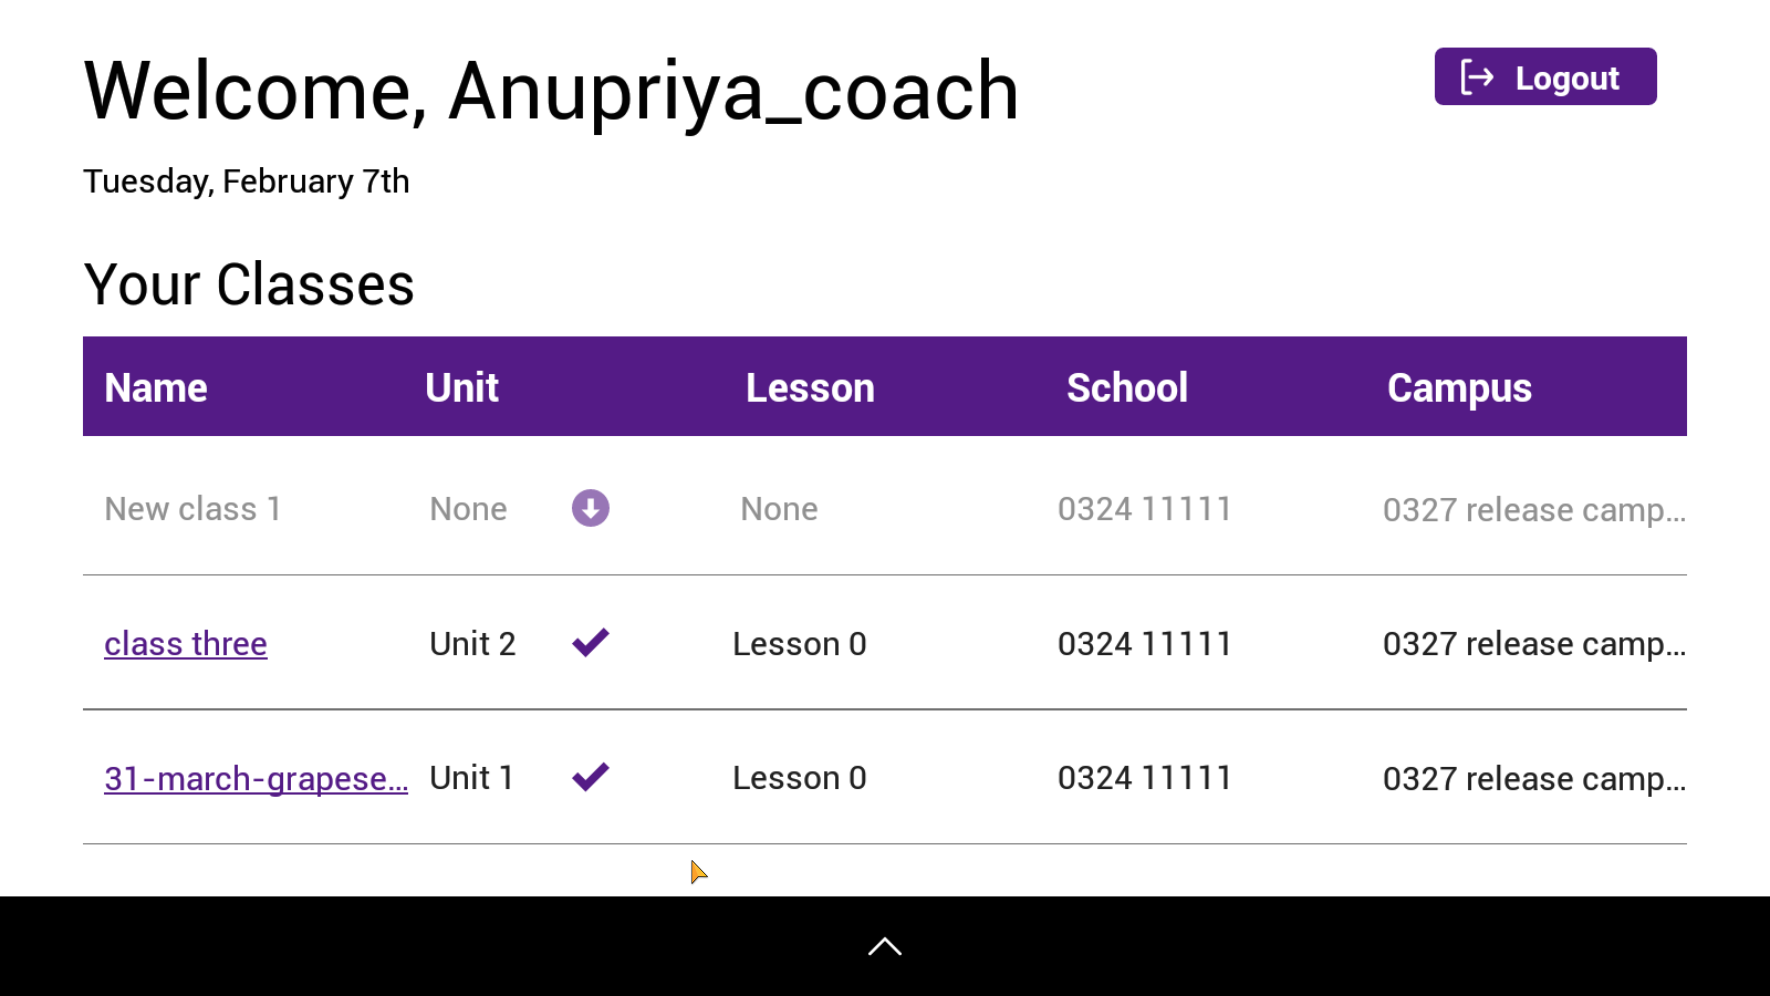
You can see the current unit, lesson, school, and campus details for each class.
Selecting a class will open the Attendance Screen which allows the user to take attendance, start a practice session, or start an official class session.
Without downloading unit material you cannot access the attendance page or start a class.
Attendance Screen
What is the Attendance screen for?
The attendance screen is where you can take attendance for a session and start a class session or practice session for the selected unit and lesson number.
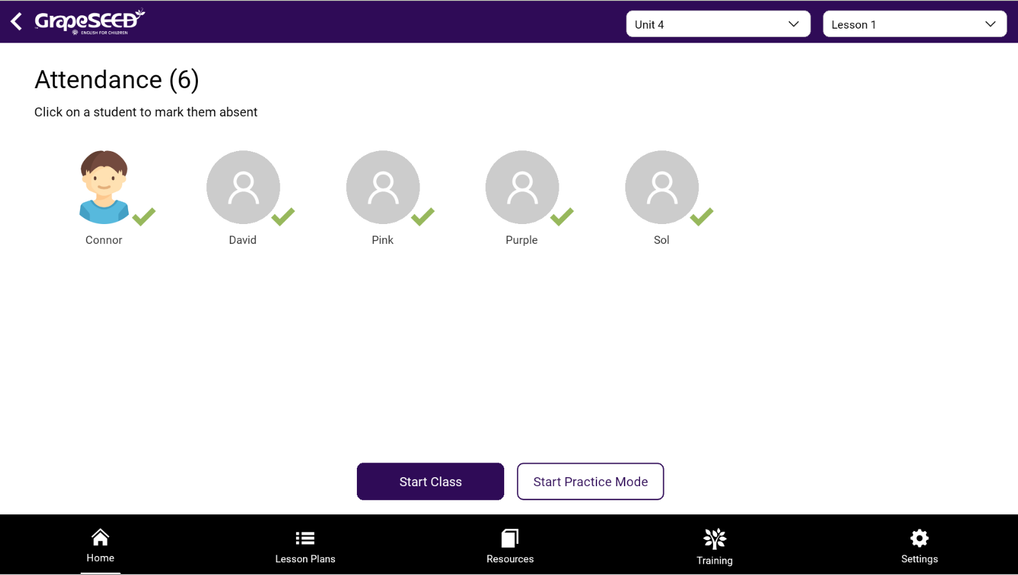
All the students of the class are displayed on the screen with their avatar and name. You can record student attendance for respective units and lessons. From the same screen, you can start a class or practice mode.
How to Record Attendance
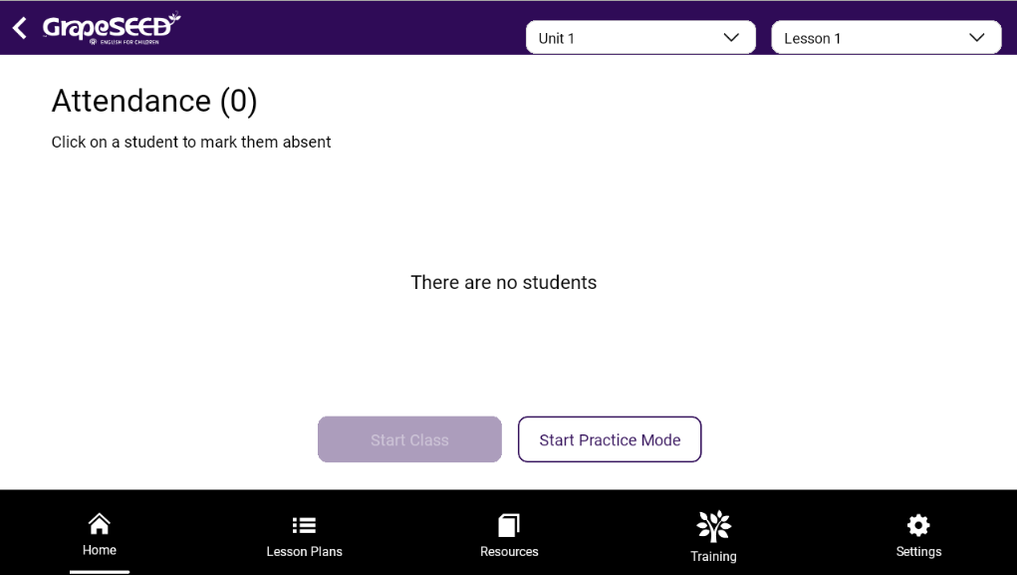
The Attendance page displays all the registered students of the class. The total attendance count is displayed in parentheses next to "Attendance".
Click on the student’s name to mark absent. Clicking again will mark the student as present. The total Attendance count will keep on updating as you mark a student absent or present. By default, all students are marked as present.
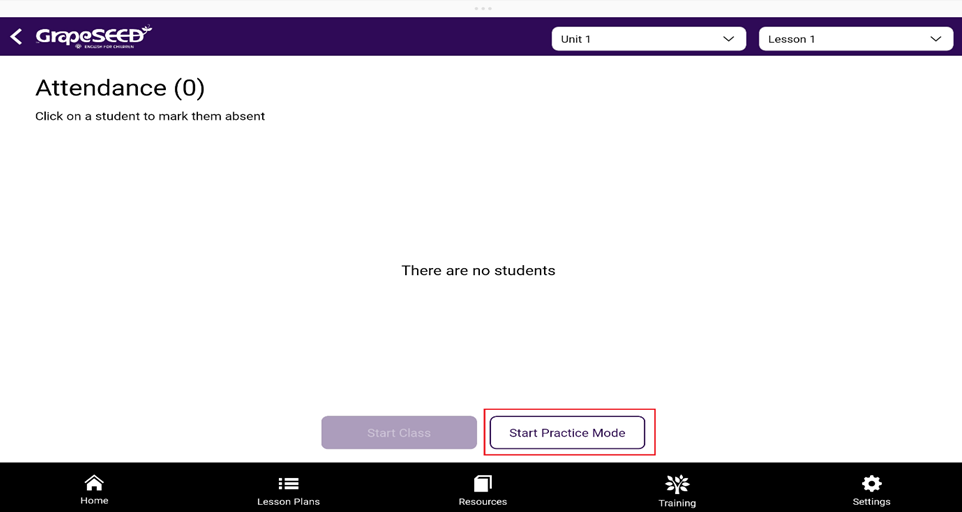
How to start a Class - Class Mode or Practice Mode
The top right dropdowns allow you to select the required unit and lesson number for a class session or a practice session.
Practice mode or Class mode can be started by clicking the respective button available on the Attendance page. Clicking on "Start Class" or "Start Practice Mode" will start a session in the selected mode.
Class mode must have at least one student present to start a session.
The "Start Practice Mode" button is available for upcoming classes, even if no students are assigned, up to two weeks before the start date of the class.
Practice mode provides all the functionality of teaching class mode lessons, but the attendance history and progress check questions will not be logged or counted. Also, the lesson cannot be marked as complete. However, you can cast the screen, annotate, and use the app as you would in a real class.
Practice mode could be used to view/practice a lesson's content before the actual class and should never be used to teach a class.
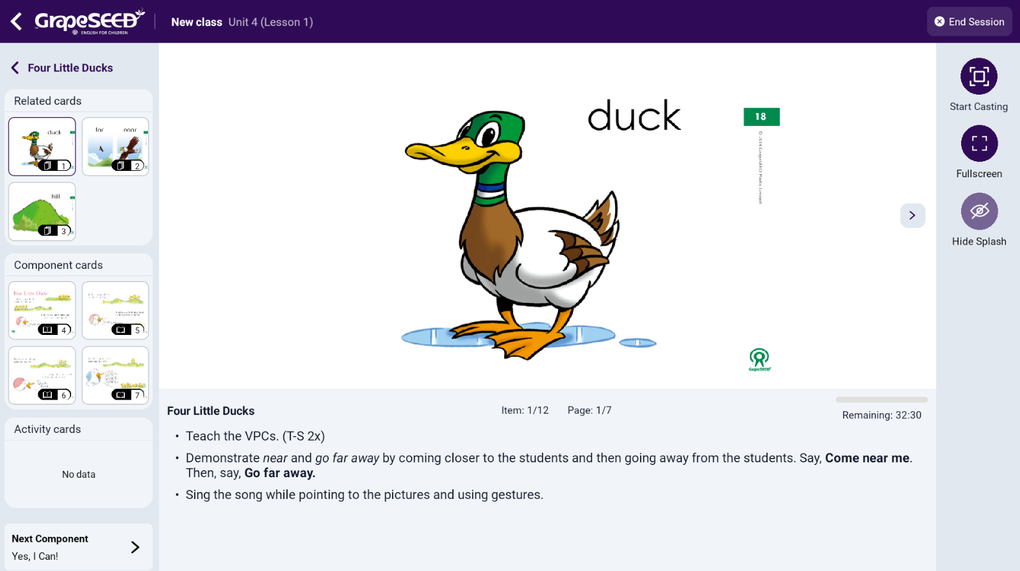
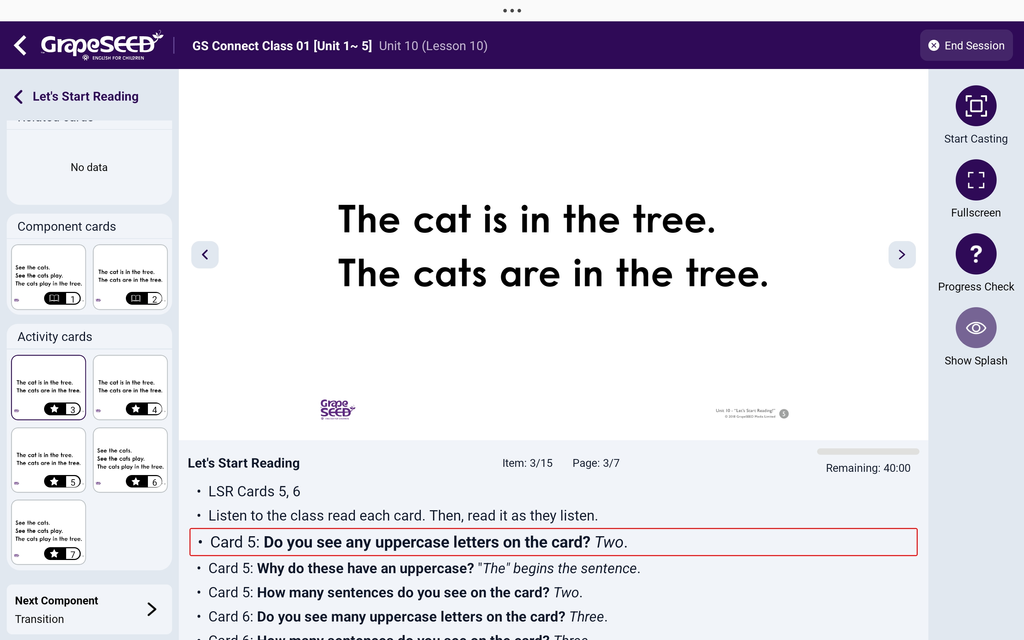
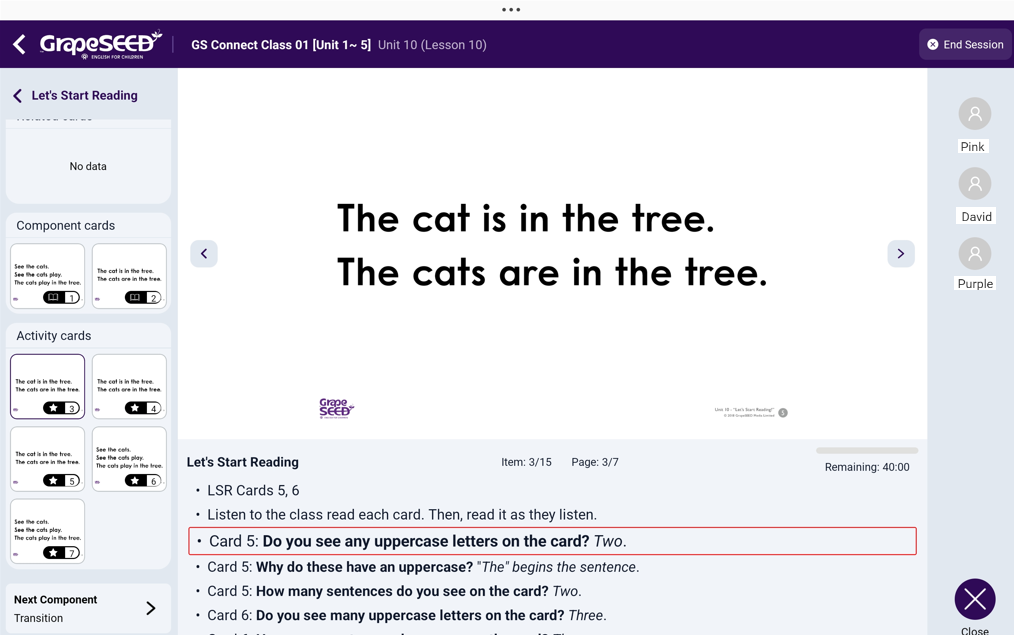
Nexus Session View
In either a class mode or practice mode session, teachers can teach the lesson plan and access all the main features of Nexus.
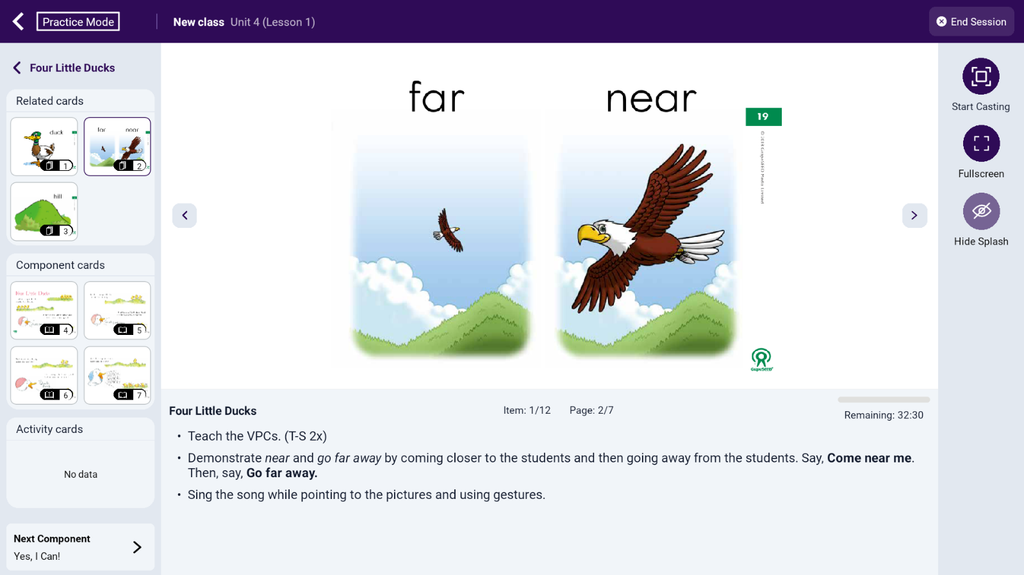
The Unit and lesson number are displayed on the header. The left side panel is the Lesson Plan panel, along with the slides for the exposure in the Component view and the list of components in the Lesson Plan view.
The bottom of the screen is the teaching instruction panel. On it, the component name, the order of the current content in the lesson, the order of the current page in the component, and the remaining time of the component are shown, along with the teaching instructions.
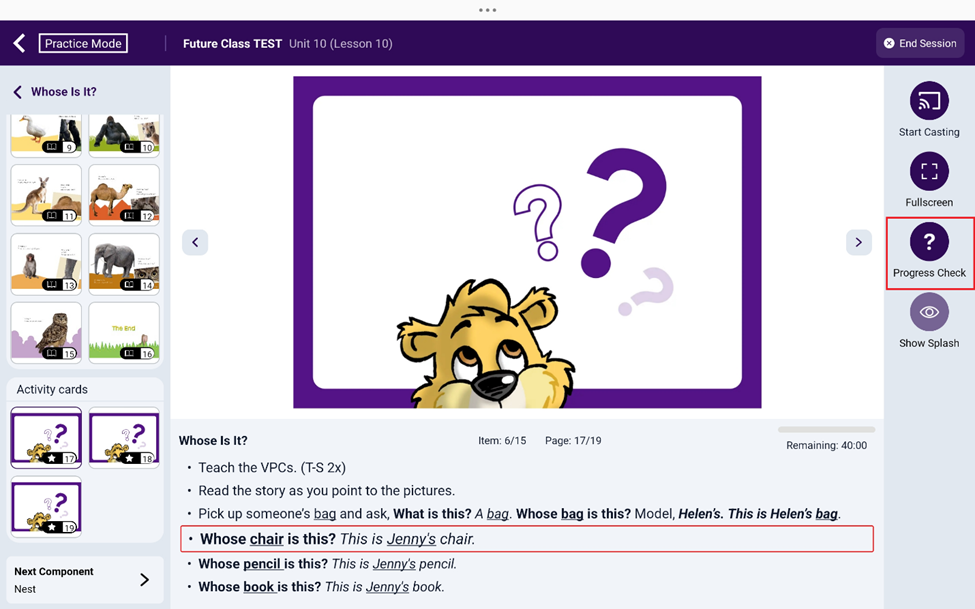
On the right panel, there are 3 buttons (4 buttons if Targets are included in the Activity cards or a Progress check is included in the lesson plan)
- The Start Casting button
 will initiate or terminate the casting connection.
 - The Fullscreen button
 allows you to display the component full screen on the tablet
 - The Hide/Show Splash button
 will display the GrapeSEED splash screen on the display device
 - The See Targets button
 will display the targets on the activity card.
 - The Progress Check button
 will allow you to ask questions.
The Cast button should only need to be pressed once, at the beginning of your session. You do not need to terminate the cast connection while teaching. To stop showing content during a class session, use the splash screen.
Teachers can activate Fullscreen Mode as needed during a session. In Fullscreen Mode on the Nexus App, teachers can swipe through component cards instead of clicking the blue arrows to navigate.
How to view Annotation Panel
When the full-screen view is selected, teachers will see the annotation panel at the bottom of the screen. The panel has all the necessary annotation tools such as color selection, pencil, eraser, pointer, and shapes.
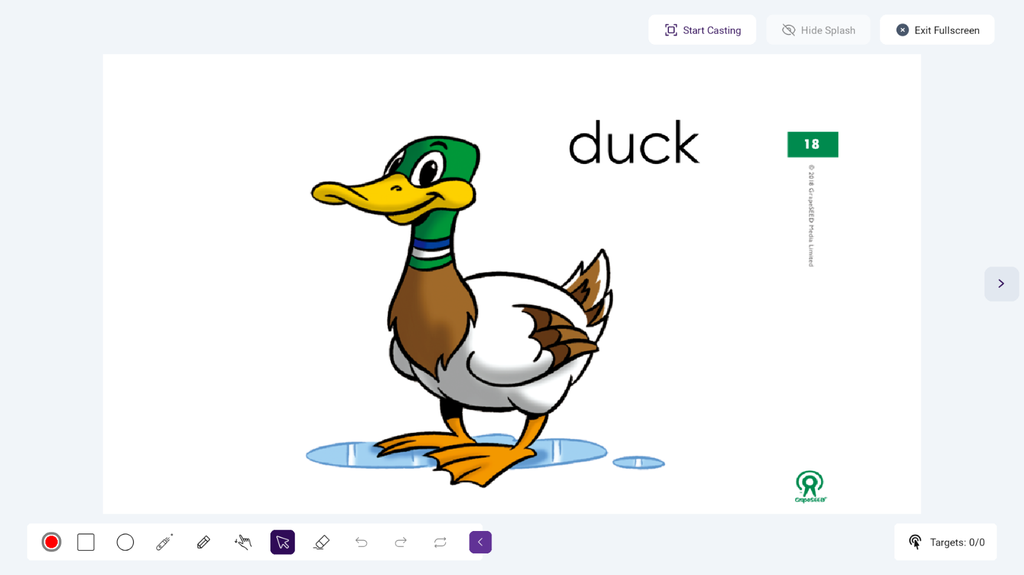
To easily draw the shapes, start from the top left of where you want the shape and drag diagonally down.

Laser pen and pencil are not real-time. Mark-up will be displayed when you lift your finger.
Progress Checks
When a progress check has been included in the lesson plan, the progress check icon will appear on the right side of the viewing window as the activity slide is displayed. When clicked, a flyout will appear with a question to be asked and the suggested students who could be asked. The teacher will have the ability to select each of the student avatars and mark their answers as correct or incorrect.
Three students are selected from the list of "present" students (attendance) who have not answered that particular progress check. As students are assessed, they will be removed from the list for that progress check. In addition, you are not required to ask all 3 students, these are just suggestions. It is up to the teacher to gauge student engagement and time management for the class.
If students answer correctly and are marked accordingly, the data is saved.
If students answer incorrectly, a carefully selected component that has the same learning objective is placed into the student's next REP playlist. This is Active Learn!.
Progress Check functionality in Practice Mode
After the teacher clicks on the 'Start Practice Mode' button, the class will begin, and a pop-up will immediately appear, stating, "Some students will be randomly generated so that you can fully experience the features as in a real class.”
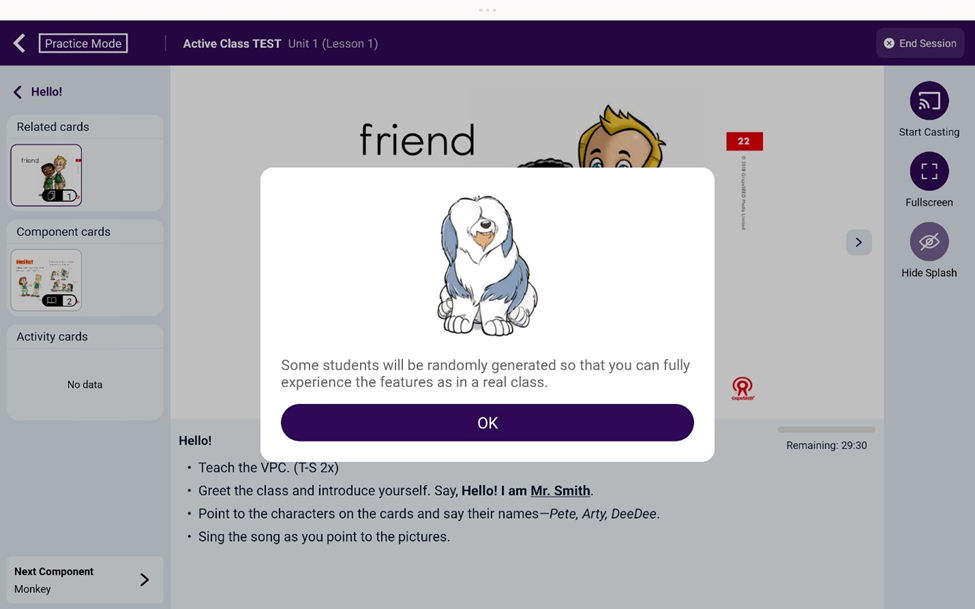
After the teacher clicks "OK" on the pop-up dialog, "fake" students will be generated. This will allow the teacher to rehearse and practice using all the tools in Nexus. Additionally, the teacher can test the "Progress Check" feature in a future class with these fake students.
When the teacher clicks on "Progress Check,” the figure illustrates how the 'Progress Check' screen appears with the generated non-real students for the future class. The students are listed on the left side of the screen.
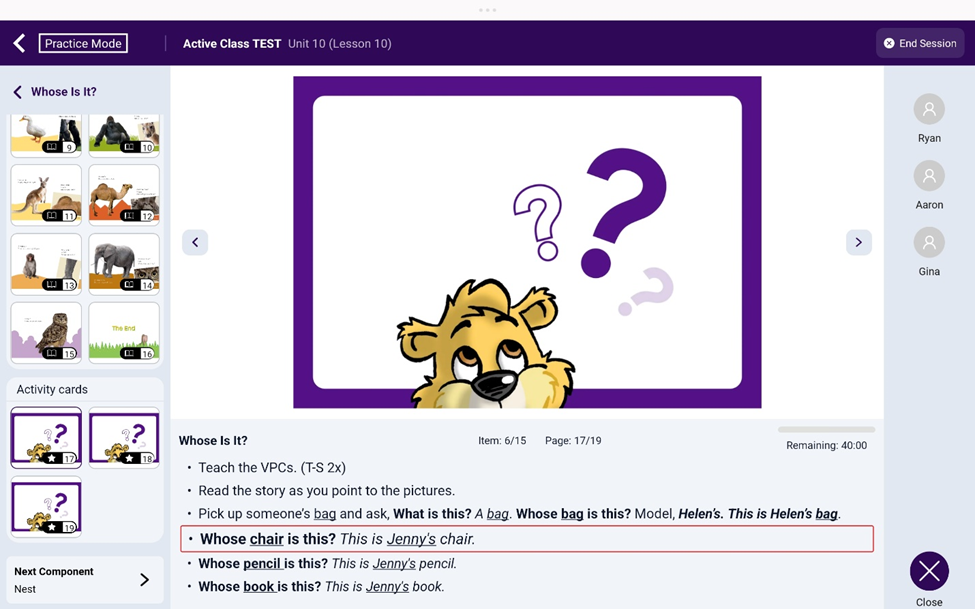
Similarly, in a future class where students are assigned, the teacher can test the Progress Check with the assigned student.
Additional Content
When all components in a lesson have been taught, the Additional Content button will appear at the bottom of the lesson plan panel for some components. If the content has been downloaded, you will see a checkmark, if it has not been downloaded, you can click the download icon to download it. The additional content is the REP audio and/or video for the component and is not required to be used in class. This is additional content in case you have extra time in class.
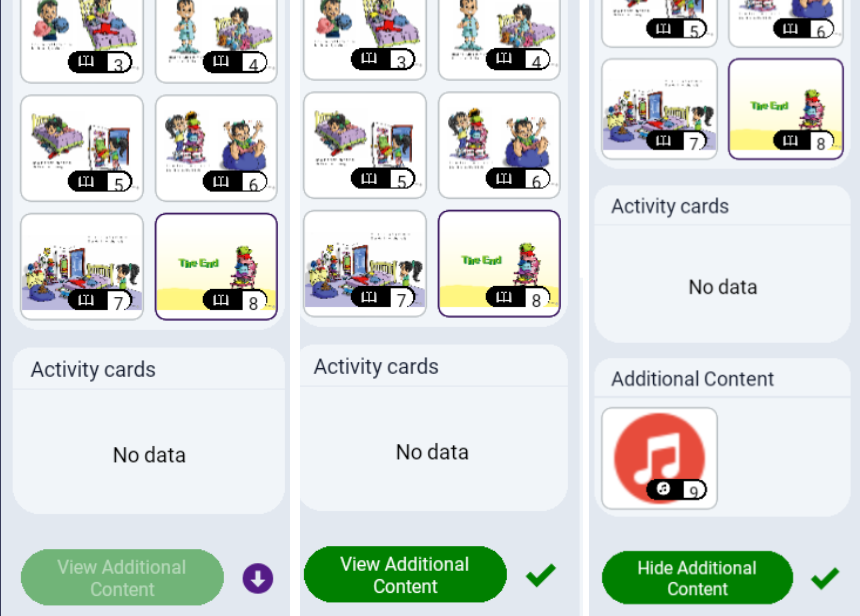
If it has not been downloaded, the user can download it from the Download Manager screen.